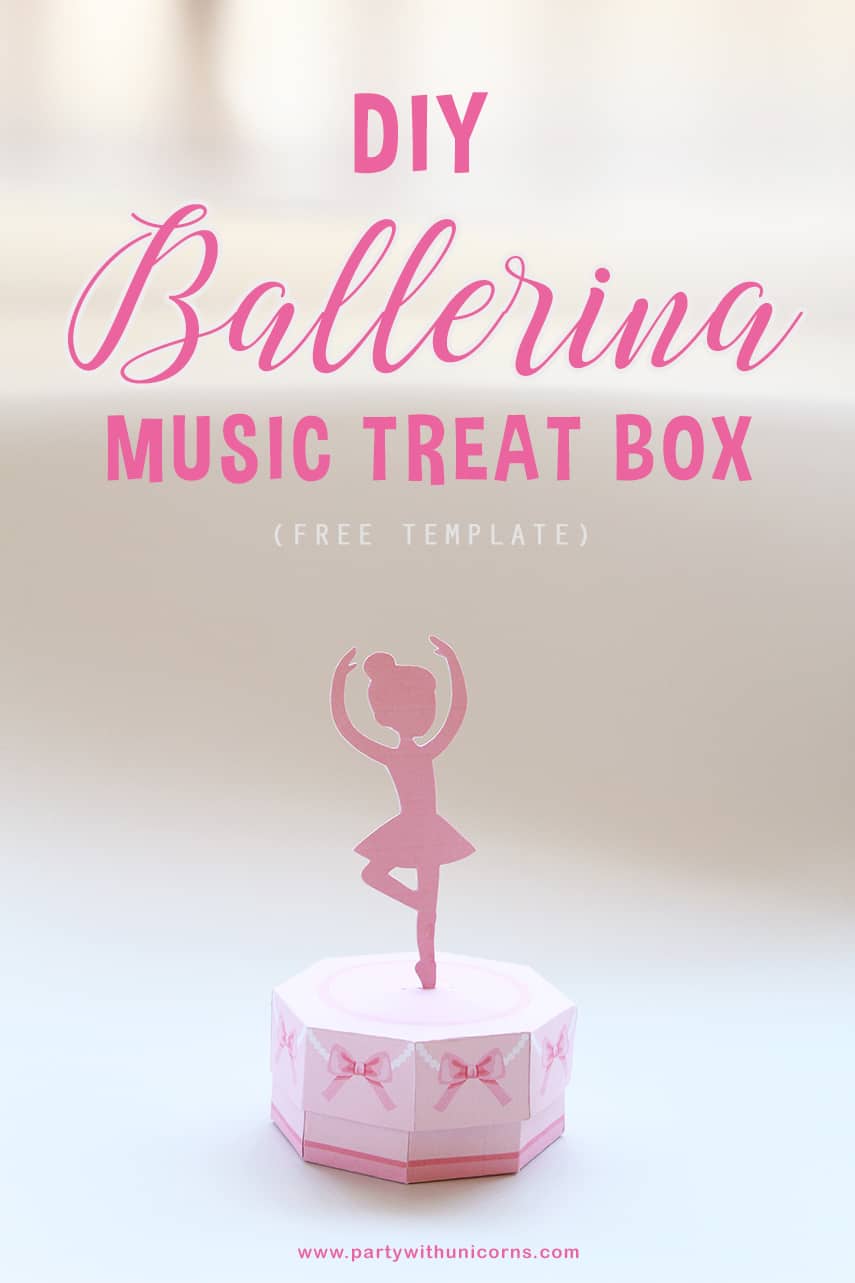
My daughter loves ballerinas. Any chance that she gets you will find here in a pink tutu, spinning, and twirling. While it is amazingly cute, I am not entirely sure where this love of dancing has come from as I don’t have a graceful bone in my body. While I think this ballet phase may be short-lived in our house, we are embracing it to its fullest while it is here. My daughter also happens to love little knick-knacks and little bags and boxes to hide her little treasures in. Combining those two interest, these delicate Ballerina Boxes are sure to be a big hit in this house.
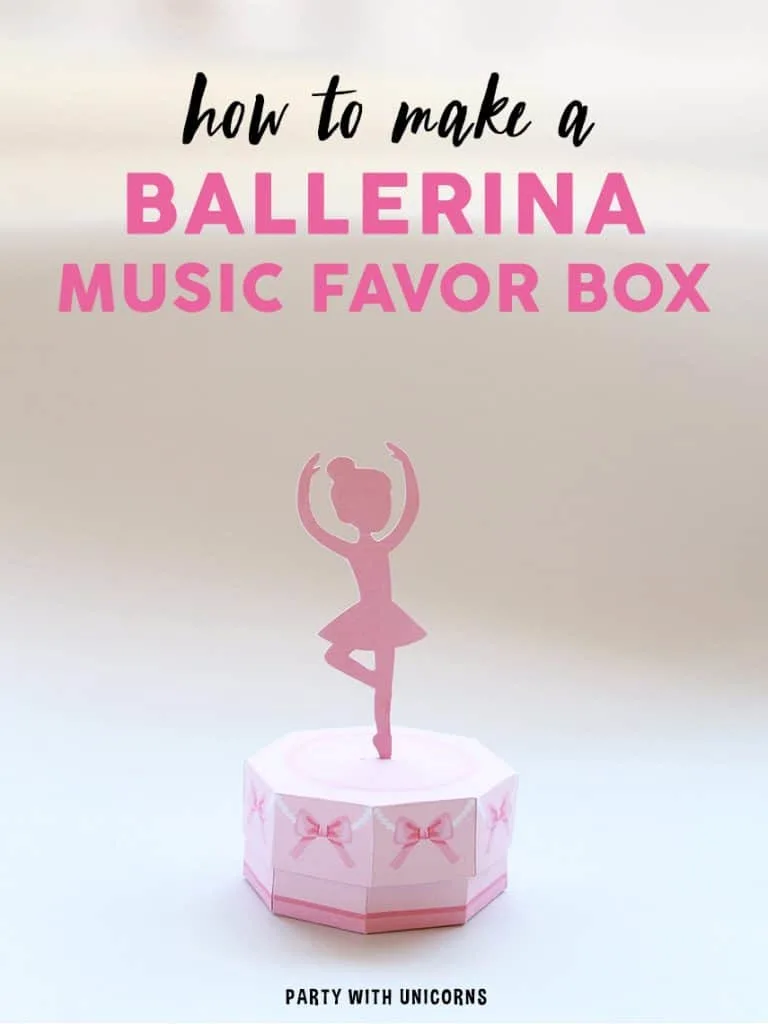
An old fashioned music box has inspired this craft. I think that they would make fantastic treat boxes or party decoration for any Ballerina party. If my daughter is still into Ballerinas by the time her birthday comes around this year, these boxes will be making an appearance.
All of the templates you need to make your ballet treasure are provided at the bottom of this post. Just enter your email details to join the mailing list, and the templates will become available. Today’s project we have today is a little bit complex (in terms of cutting) compared to party boxes you have seen on this blog so far. Kids will need help with the cutting of the ballerina and should be able to get involved with the folding and gluing of the box.
Are you ready? Let’s start!
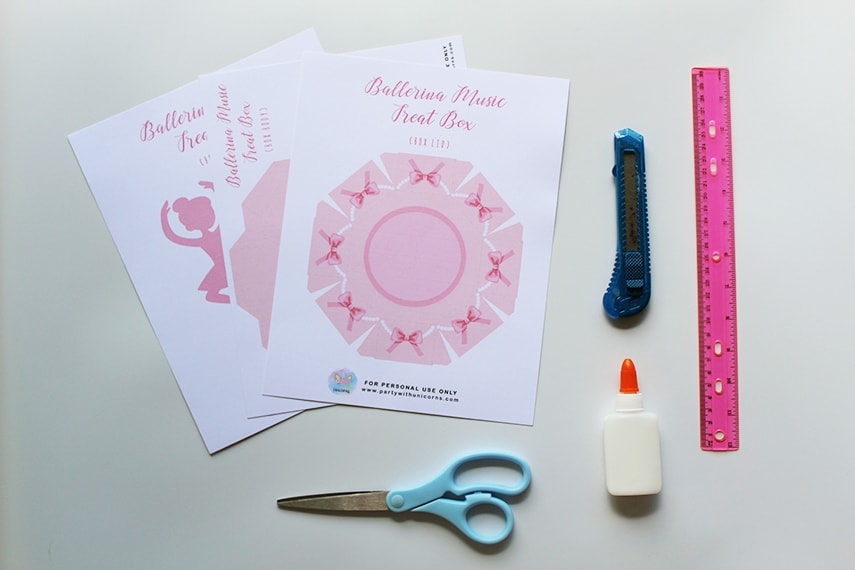
Ballerina Box Supplies
Here what you need for today’s craft:
- Free Ballerina Music Treat Box Template (best if printed on cardstock with 200 GSM and above)
- Scissors
- Craft Knife
- Ruler
- Glue
- Toothpick (optional)
Ballerina Favor Boxes Step by Step Instructions:
1. Download and print our free Ballerina Music Treat Box template.
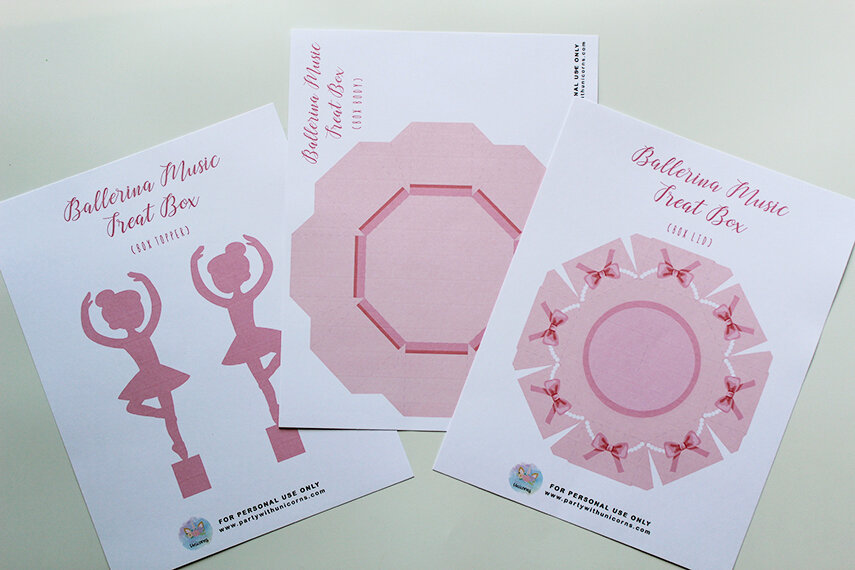
2. Cut out the Ballerina Music Treat Box lid and body template.
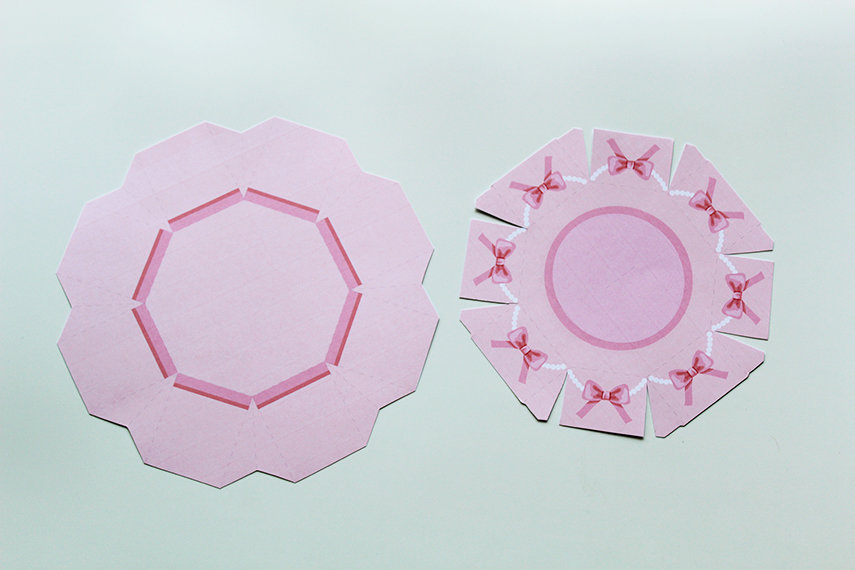
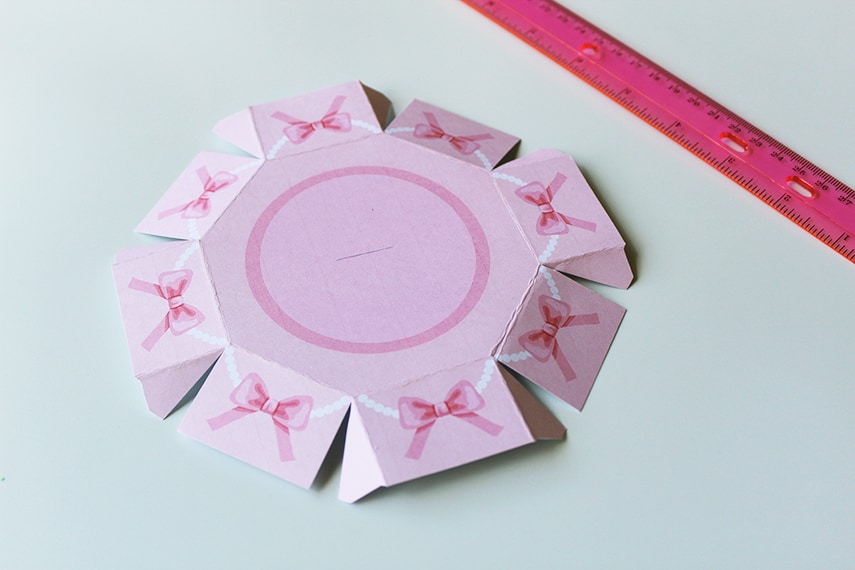
3. For each “V” shaped seen in the body template, cut one side of the triangle to create a flap.
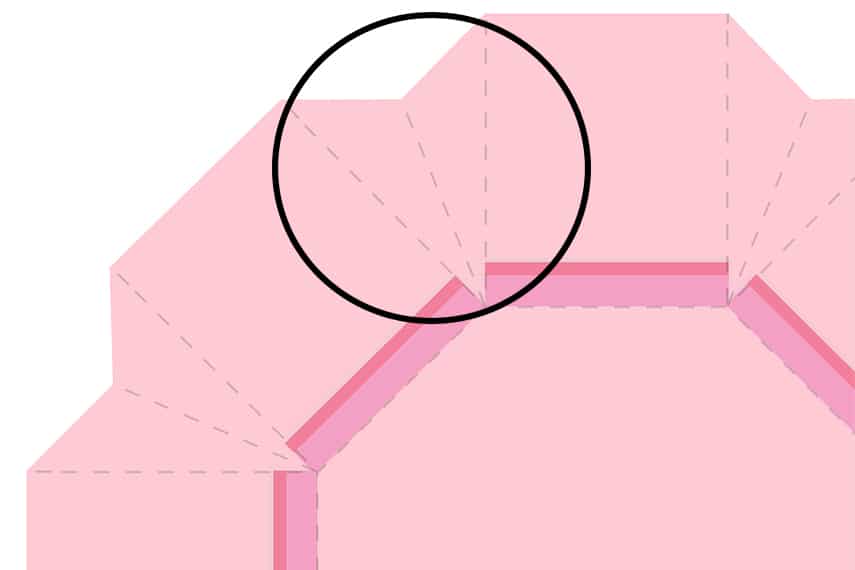
Fold the lines using a ruler to guide you in making a perfect crease. Once done, the body template must look like this.
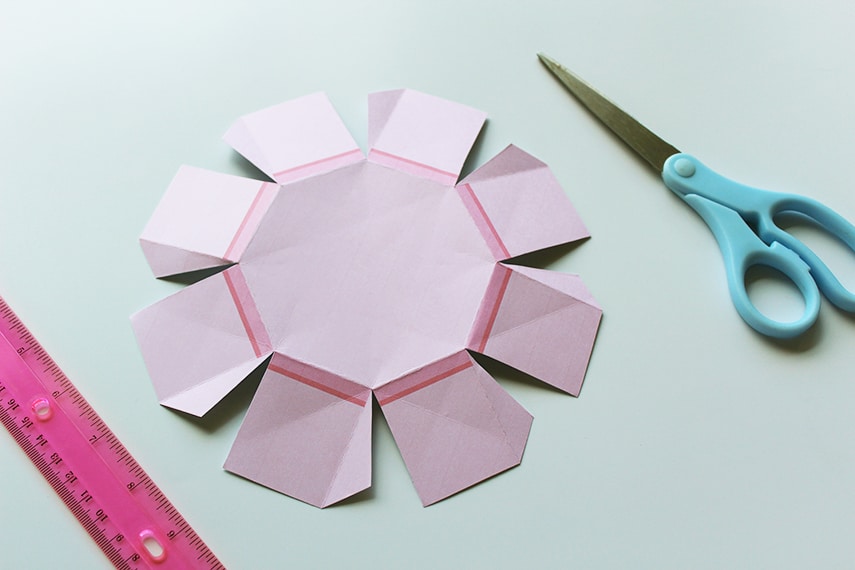
4. Glue the flaps together to create an octagon body.
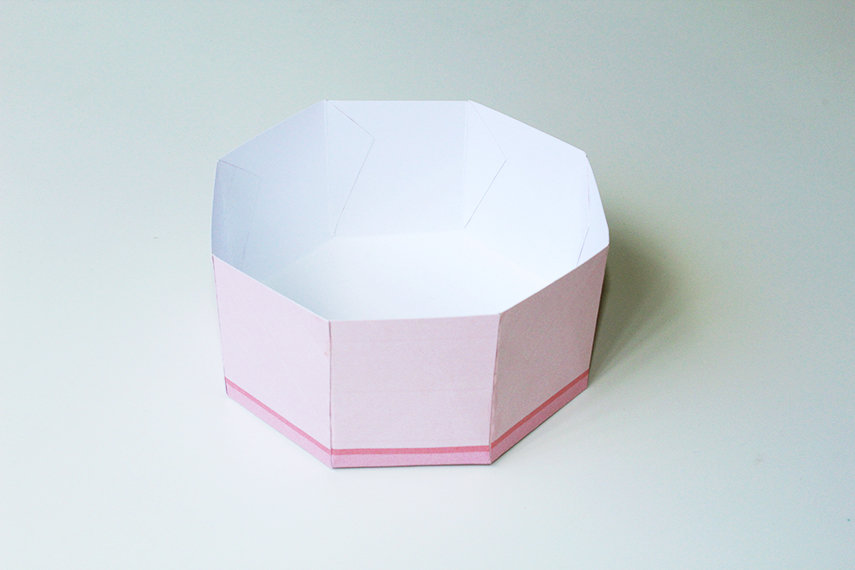
5. Now let’s make the lid. Use the craft knife to make a slit on top of the lid. Follow the broken lines seen on top of the box lid template.
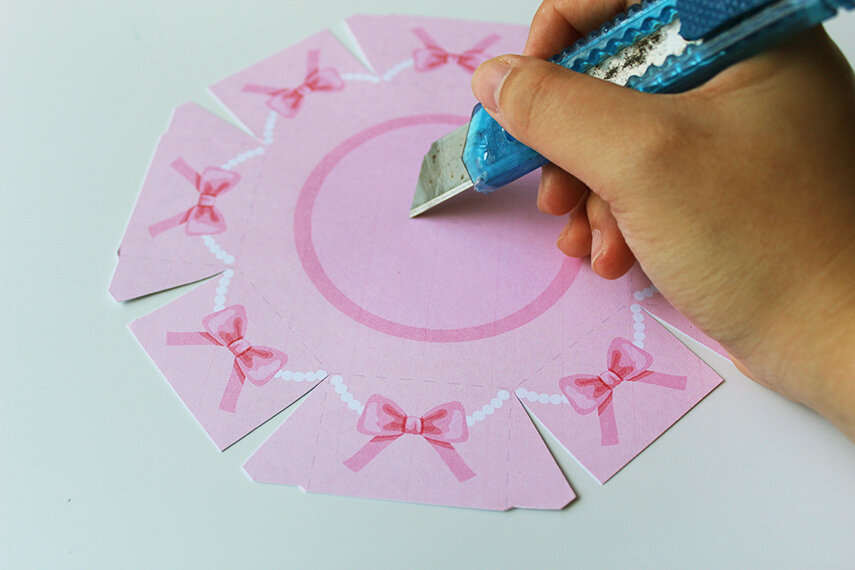
6. Fold the lines using a ruler.
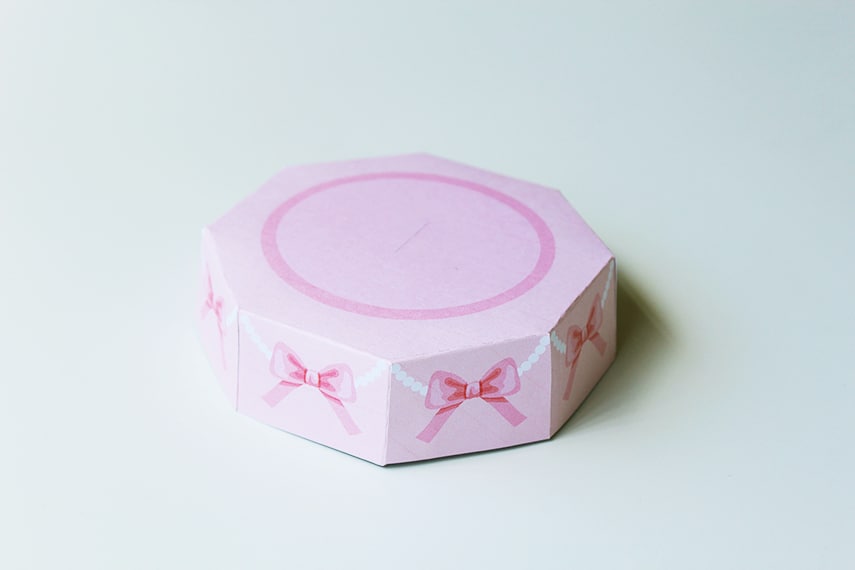
7. Glue the flaps together to form the octagon-shaped box lid.
8. Now cut out the Ballerina box topper.
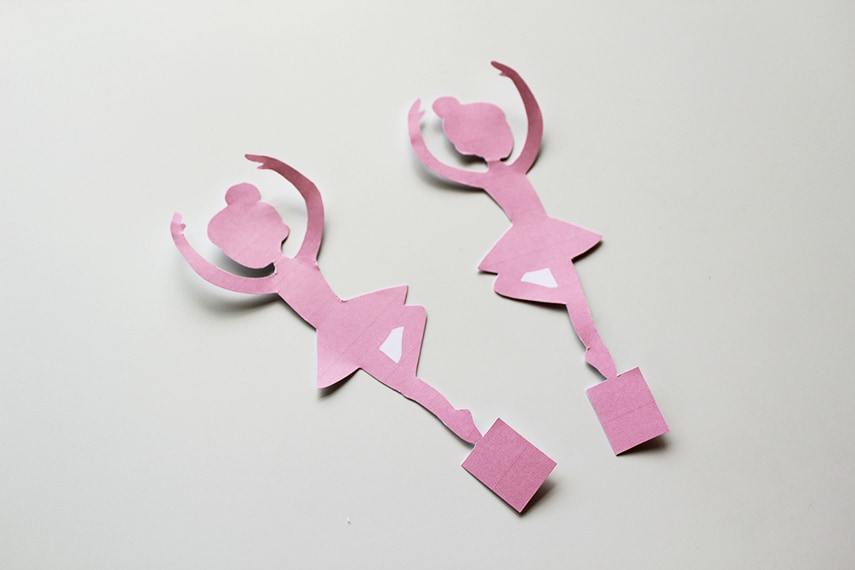
9. Use the craft knife to remove the part of the topper where the Ballerina’s legs meet.
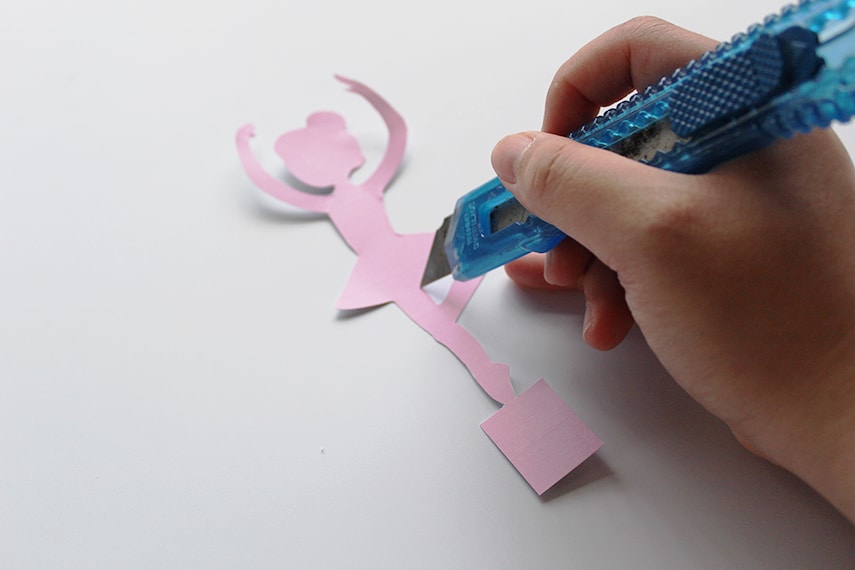
10. Do the same step on the other topper.
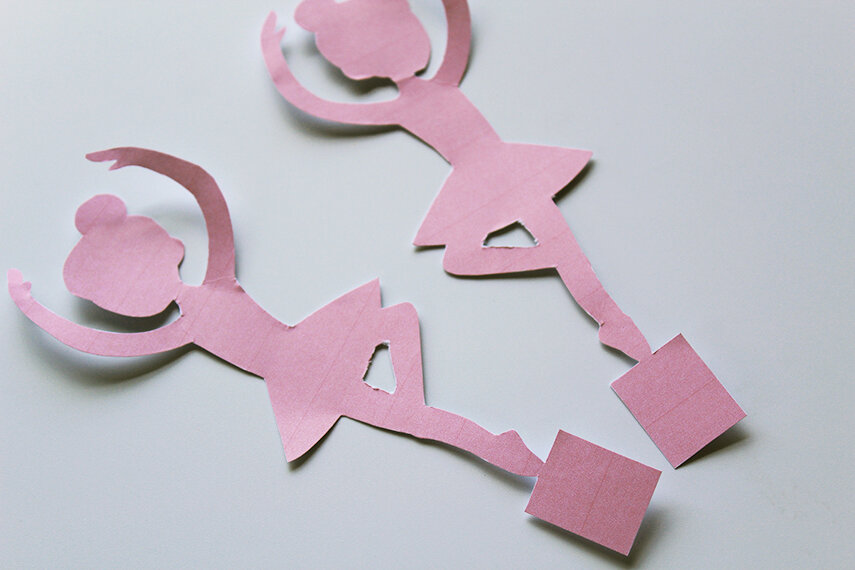
11. Glue the two toppers together back to back. Only glue from head to toe and do not apply glue on the rectangular-shaped below the toe. The rectangular-shaped will serve as your flaps.
Tip: If your cardstock is not thick enough, you can add a toothpick to make your topper stand when attached on top of the box lid. Glue the toothpick on the center of the “stretched” leg part (not reaching the end of the toe) before you glue the two toppers together. The toothpick will make a good foundation for the topper to stand.
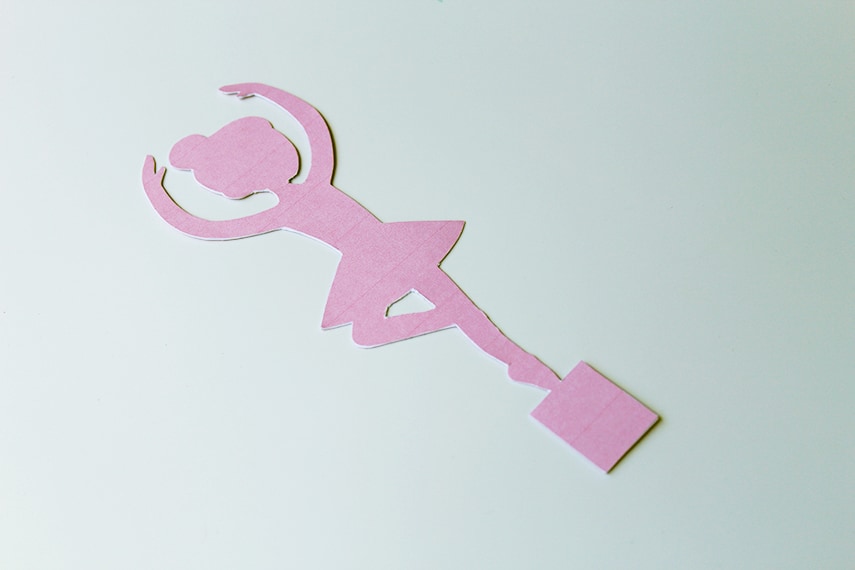
12. Fold the two flaps outwards from one another.
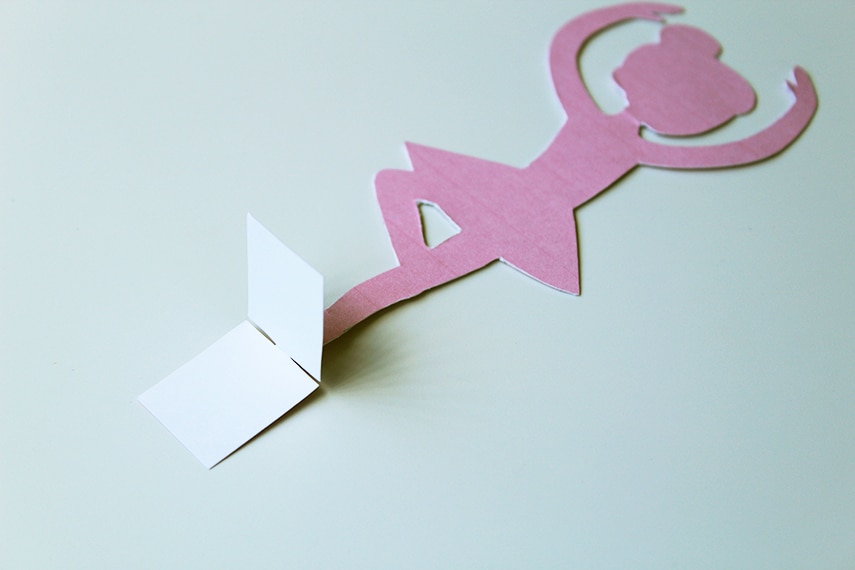
13. Insert the two flaps in the slit you made on your box lid.
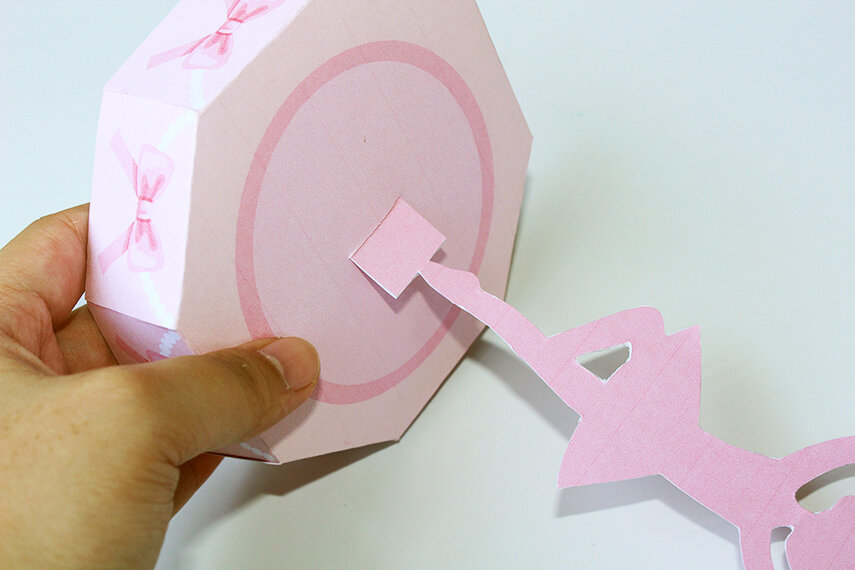
14. Glue the flaps on the back part of the box lid.
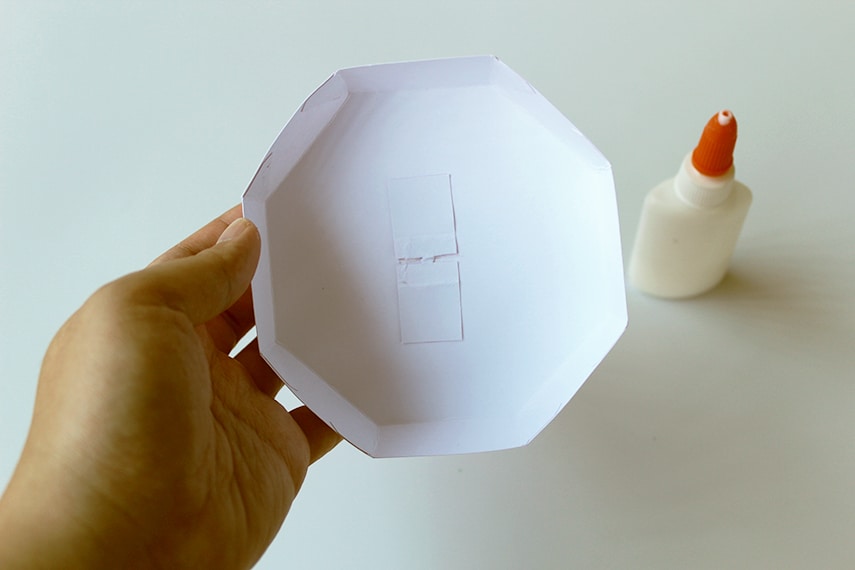
15. Cover your box body with the lid. Make sure the topper is standing.
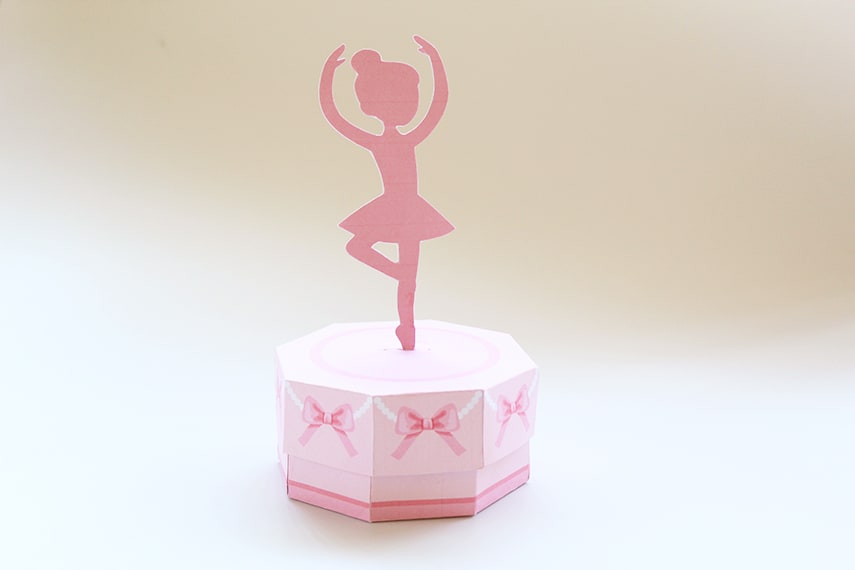
And you are done! You now have your very own “music box inspired” Ballerina Favor Box to use for parties and whatnot. Make sure to fill in your box with little treasures or treats for your little ballerinas and guests.
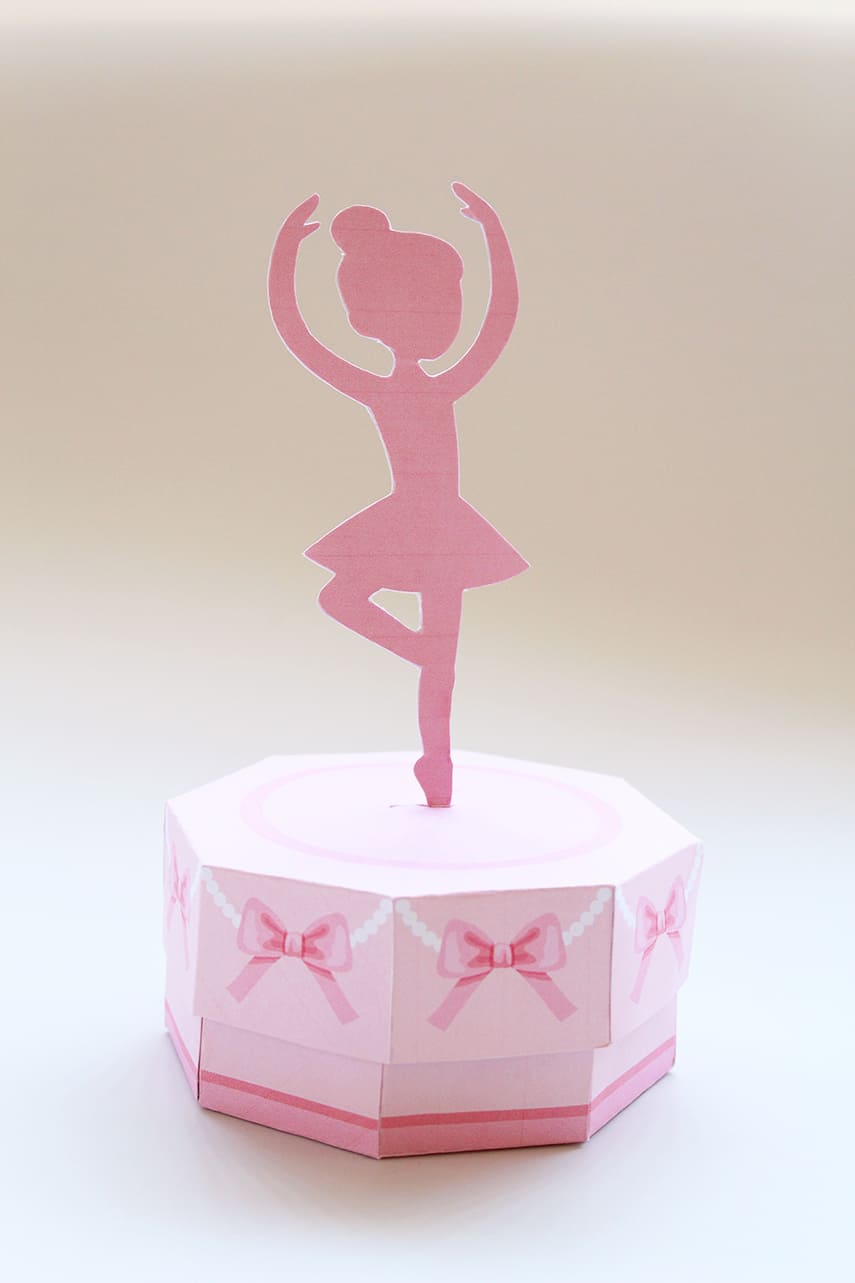
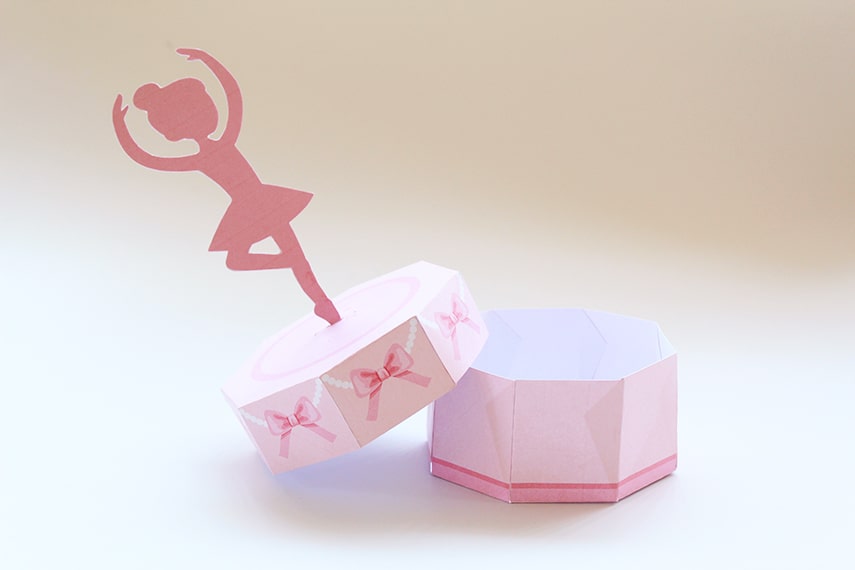
I hope you love this Ballerina box as much i do. I had fun making this even though it was a bit harder to put together than some of our other crafts. But all in all, this craft is such a unique piece that I am proud to share to you all! I’d love to see how you go with this template. Be sure to tag me on Instagram or Pinterest with your creations. If you have any questions, please let me know in the comments below.

Talita Nobrega Lopes
Thursday 27th of June 2024
Wonderful Project. I loved it so much. My middle daughter chose the Ballerina theme to celebrate her 5th birthday and I found her blog when searching on Pinterest. I have a question: two of the parts of the box are smaller and when assembled they are disproportionate, do you cut them to make them the same? Thank you for this sensational blog.
Delayni
Wednesday 19th of May 2021
How cute! My daughters will love these! Can't wait to make them. :) Thank you!
admin
Wednesday 19th of May 2021
SO glad you like them! Have fun.
Catherine Macdonald
Sunday 6th of October 2019
WOW these are amazing! I am an after-school teacher and the kids are going to love them! My only worry is that I know they would like to design them on their own, is there anyway of getting a white copy that they could colour themselves?
admin
Wednesday 13th of November 2019
Hi Catherine, Absolutely, I will work on that and post when complete.
Dana
Friday 5th of April 2019
These are so adorable! My daughter and nieces would love these! Thanks for sharing
Carolyn
Saturday 6th of April 2019
Glad you like them Dana. Thanks for stopping by.
Miranda
Saturday 30th of March 2019
So cute!!! Can't wait to throw a party just to use! #oops #sorrynotsorry
Carolyn
Sunday 31st of March 2019
Haha - is it for yourself?