
Hello! It’s been a way too long between craft posts, so this week I am going to be bring you a few different summer crafts for kids for you to try with the kids. With the kids home for the summer, I always find crafts to be a great way to get them off their screens.
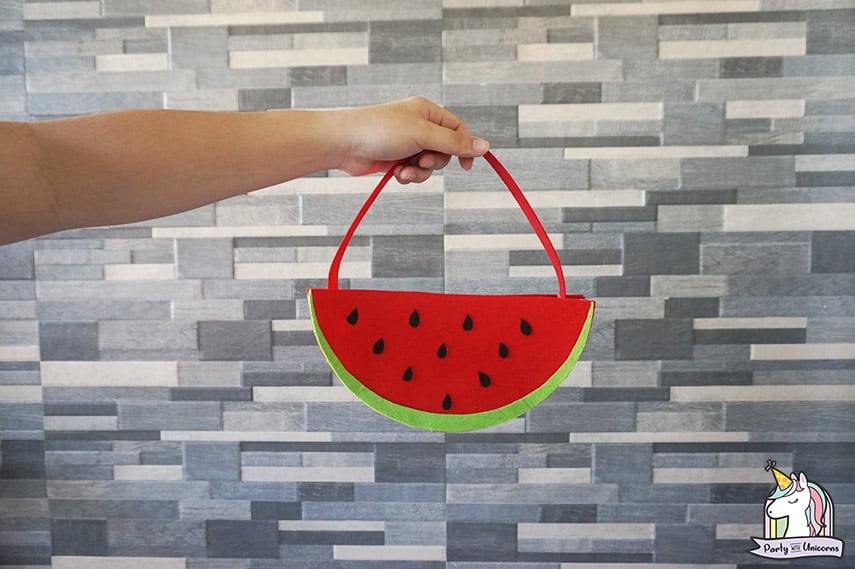
Today I am kicking off my summer craft projects with a watermelon-inspired handbag! Finding a design to go along with the season was not very hard as there are very few things that scream summer to me than watermelons! It is cute, tasty,
and ever so sweet. Something about it just reminds me of long warm evenings growing up with my family in Canada (for those of you not from Canada, yes it does get warm for at least a few months a year!). My kids love watermelon too, so I am sure my daughter is going to love this new bag!
Summer Crafts for Kids – Supplies for DIY Watermelon Bag
Let’s jump right in. The supplies for this craft are super simple and with any luck you might have them already around the house. Here is what you need:
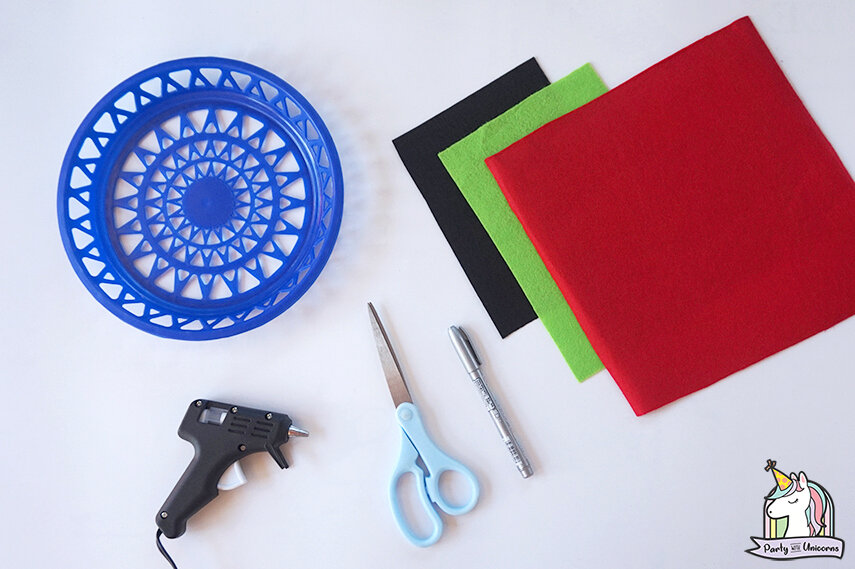
- Felt cloth (Red, Green, and Black)
- Scissors
- Hot glue
- Marker (or pencil)
- A plate or anything round (you will use this to trace the round shape)
The simple steps you need to follow to make this handbag are below. I hope you kids love it too!
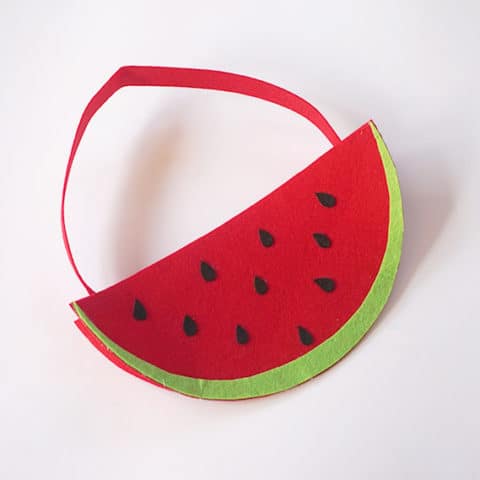
DIY Watermelon Handbag for Kids
Cute Felt Watermelon Handbag for Kids
Materials
- Felt cloth (Red, Green, and Black)
- A plate or anything round (you will use this to trace the round shape)
Tools
- Scissors
- Hot glue
- Marker (or pencil)
Instructions
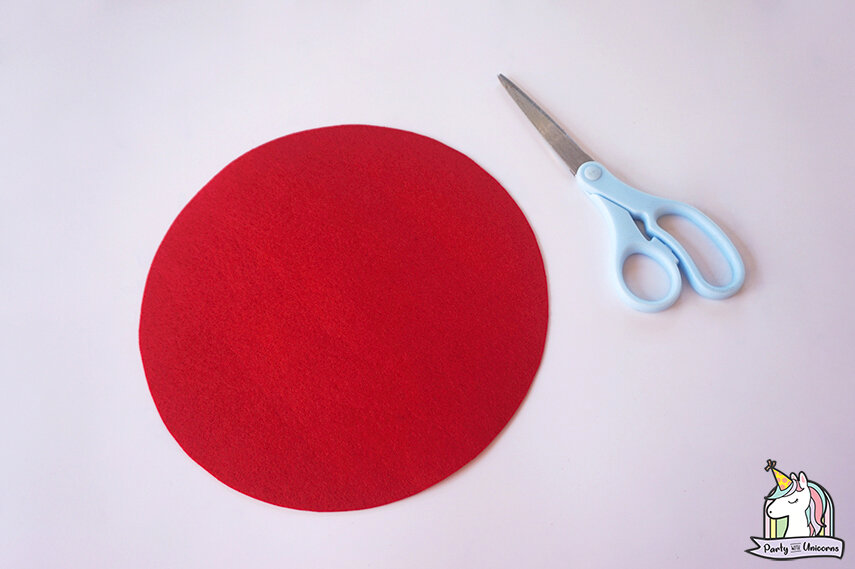
- Use your marker or pencil to trace the plate onto the red felt cloth. You can choose whatever size of a plate you want. The bigger the plate, the bigger your handbag will be.
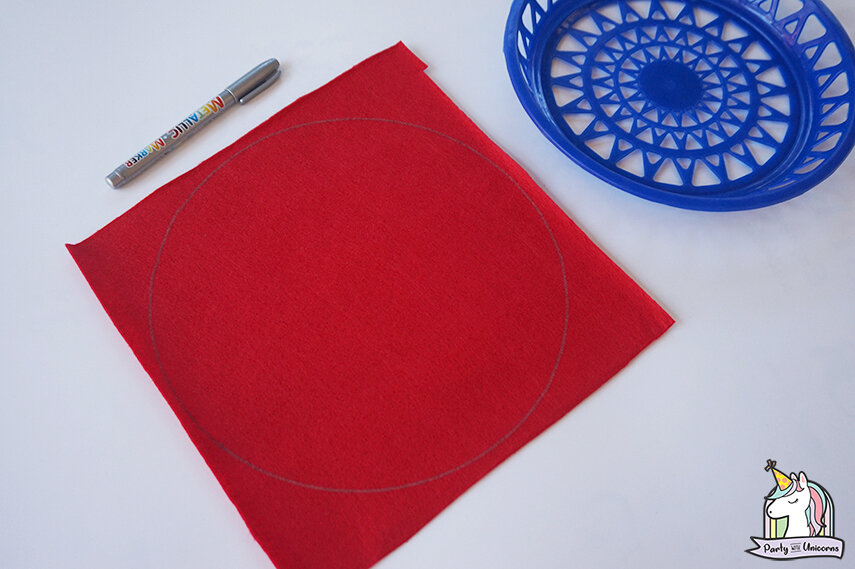

- Cut it out.
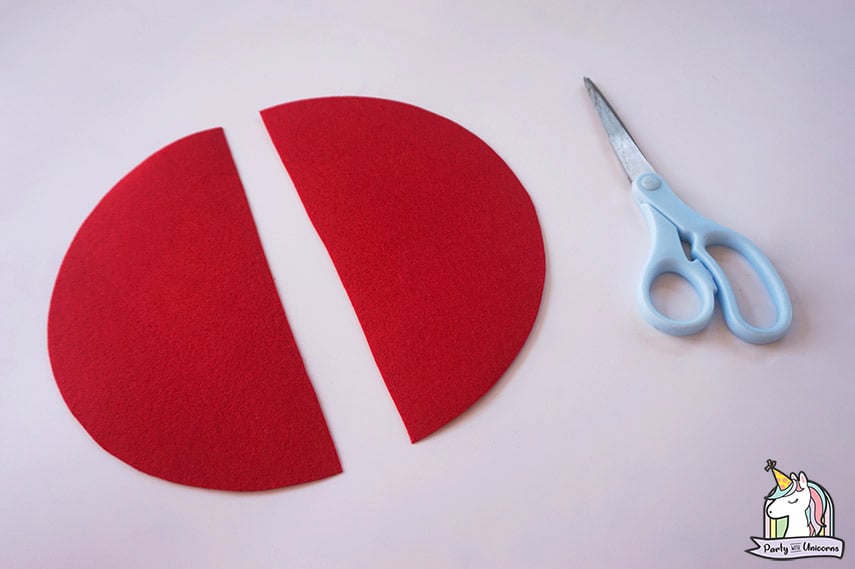
- Fold the circle in half.

- Cut the middle part to create two half circles.
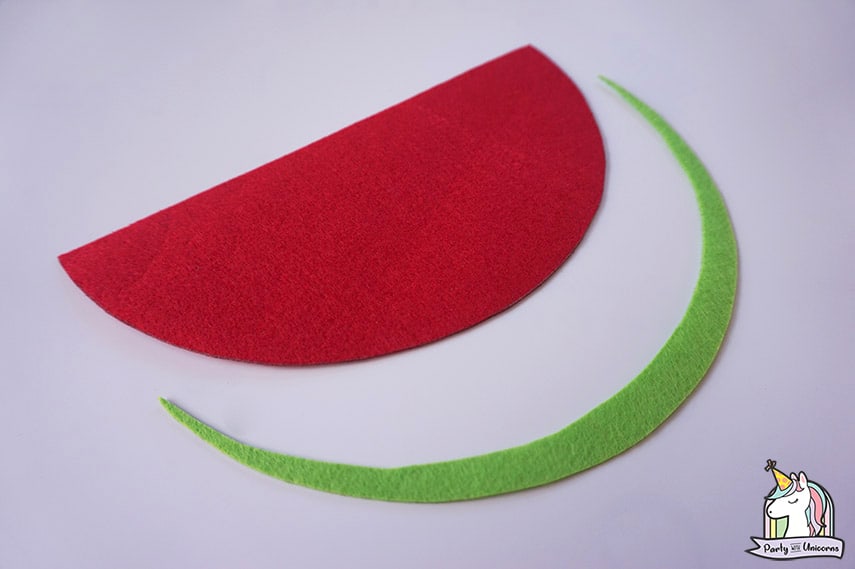
- Get your green felt cloth and cut out a thin lining for the watermelon. Make sure that the lining will fit with the red base.
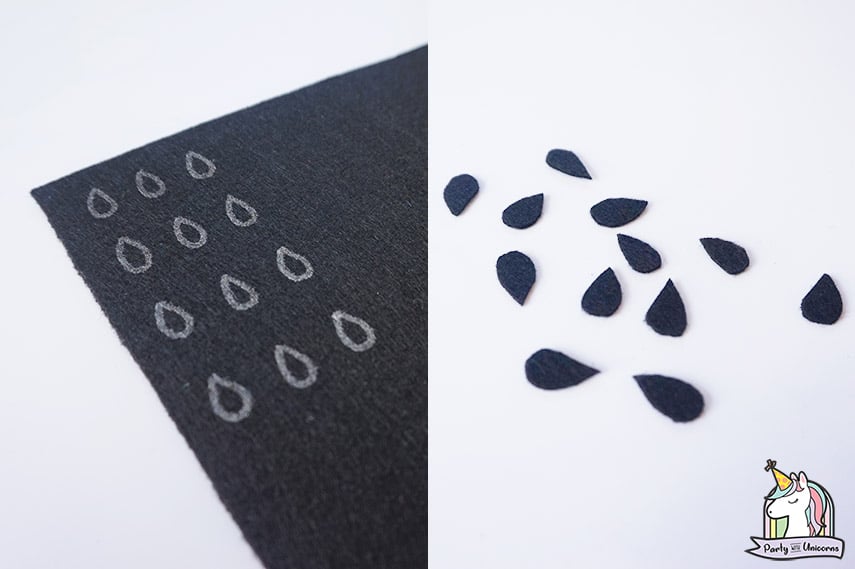
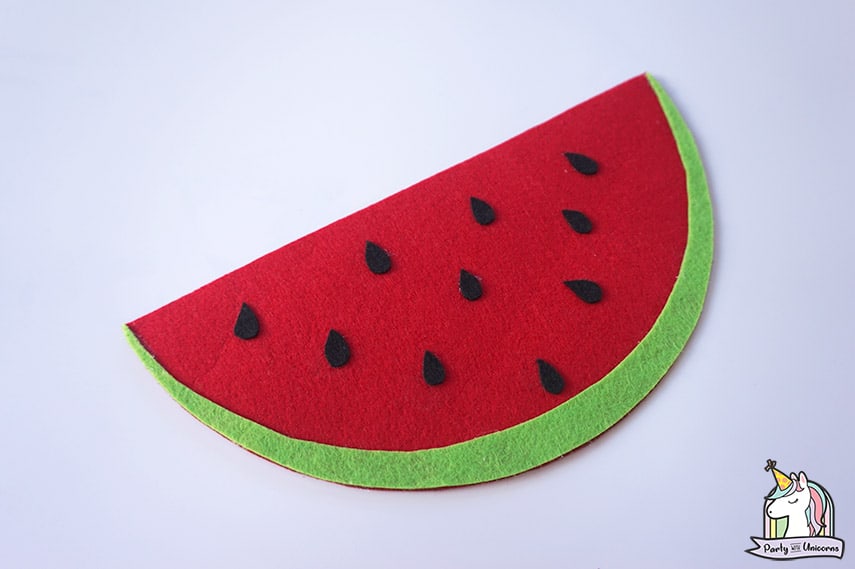
- Draw tiny teardrop shape onto the black felt cloth to make the watermelon seeds. Cut it out.
- Glue the green felt lining along with the black seeds into one of the red felt cloth. This will be the front part of the handbag. You can also decorate the back part if you want.
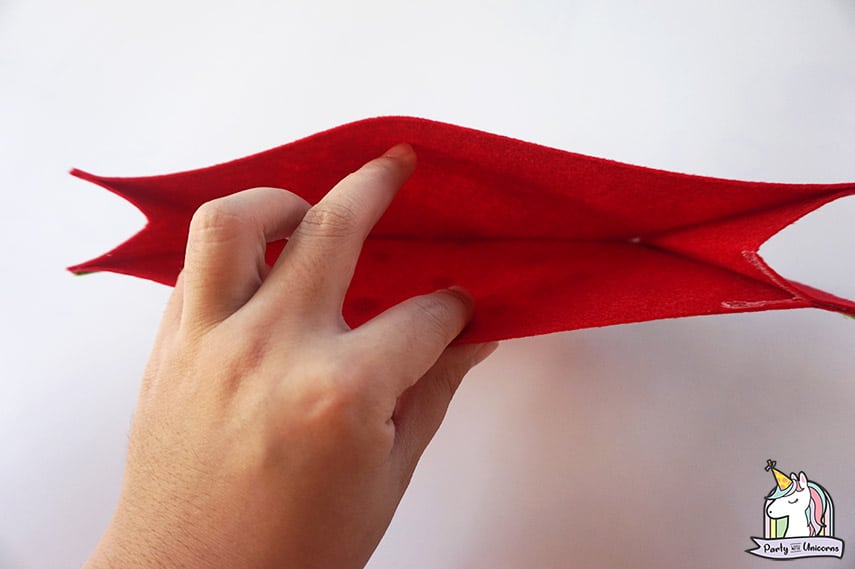
- Cut out a small piece of red felt cloth and fold it into two. Glue the side of each watermelon base into the small piece of red felt cloth to connect the front and back part of the handbag.
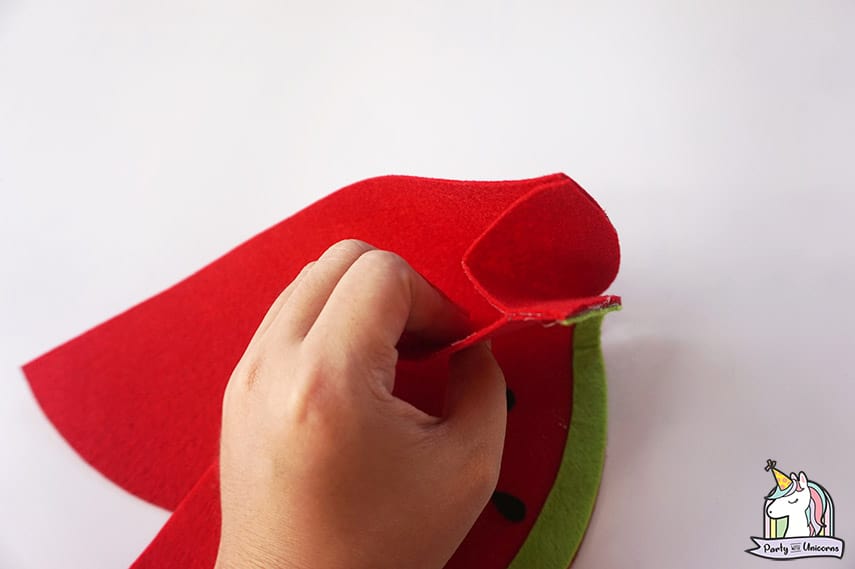
- Do this on both sides. Then apply glue on the lower part of the handbag to close it.
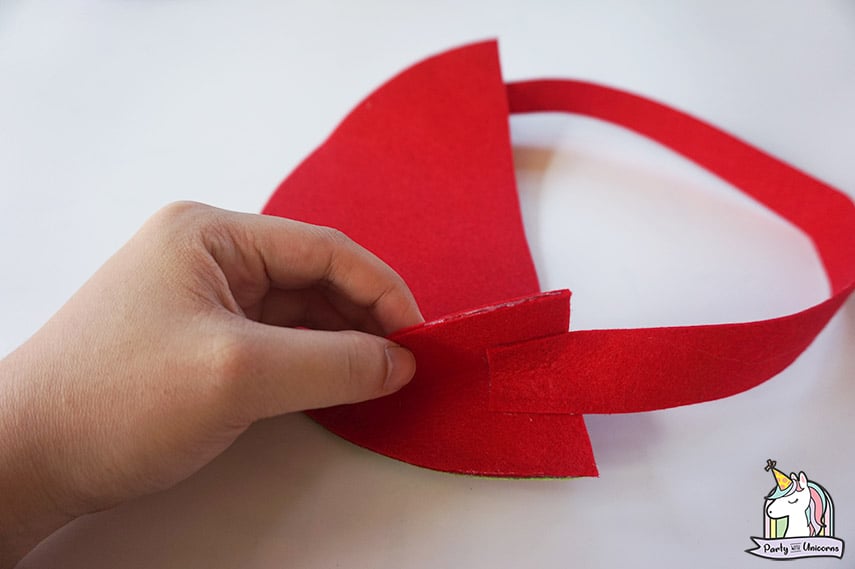
- Cut a strip from your red felt cloth to serve as your handbag strap and glue it on both side.
So there you have simple as that!
If you want to be kept up to date with the crafts as they are available, be sure to follow along with us on Facebook, Pinterest, or Instagram.
Happy summer and happy crafting!