Two months to go and it’s the Holiday Season! I am forever trying to teach my kids that gifts do not need to be bought in a store and something they create or do for someone can be more special than something they buy. To continue with this theme, this year I am getting the kids to create their own Christmas Cards as a part of their gifts for friends and family.
For today’s craft tutorial, I partnered with Design Bundles. I’ve used The Christmas Craft Bundle to create the templates that the kids will use when creating their cards. The bundle has hundreds of graphics that can be applied to the tutorial below to create custom Christmas cards.
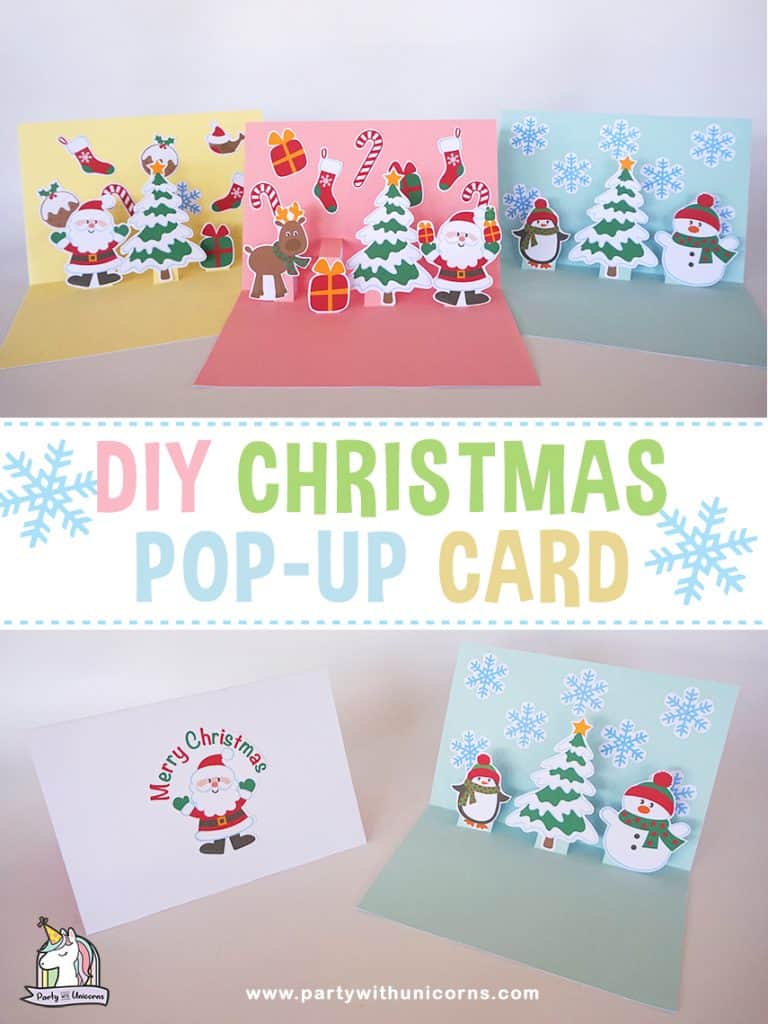
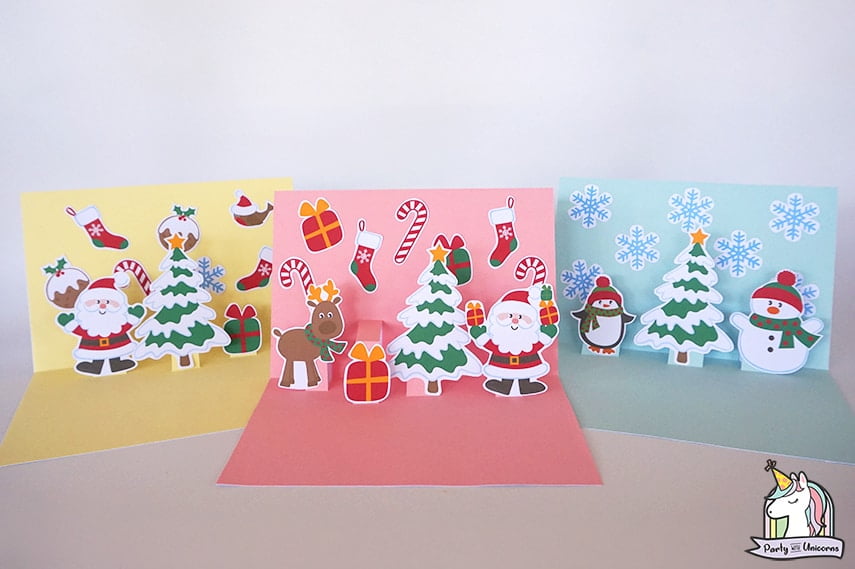
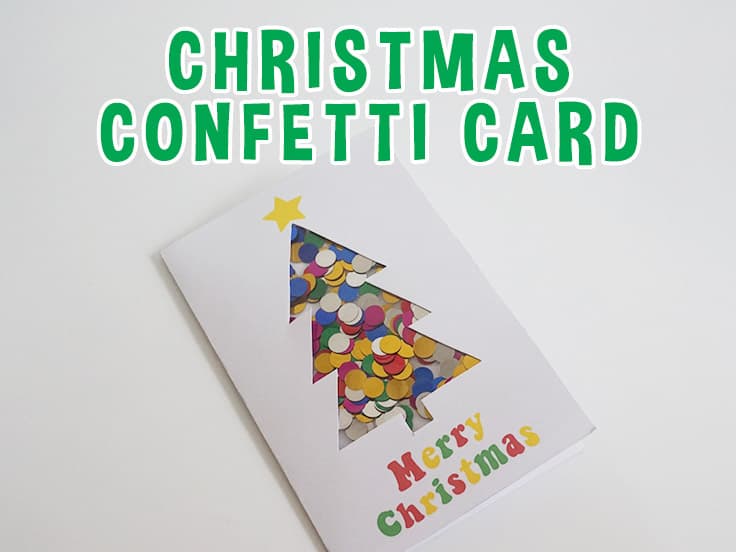
In the past, my kids have created cards but putting a quick drawing on the front of a folded piece of paper. This year, with the help of the Christmas Craft Bundle, we are going to create Christmas Pop-up Cards. This craft allows the kids to try their hands at card designing instead of just drawing.
Let’s begin, shall we?
Christmas Pop-out Card Supplies
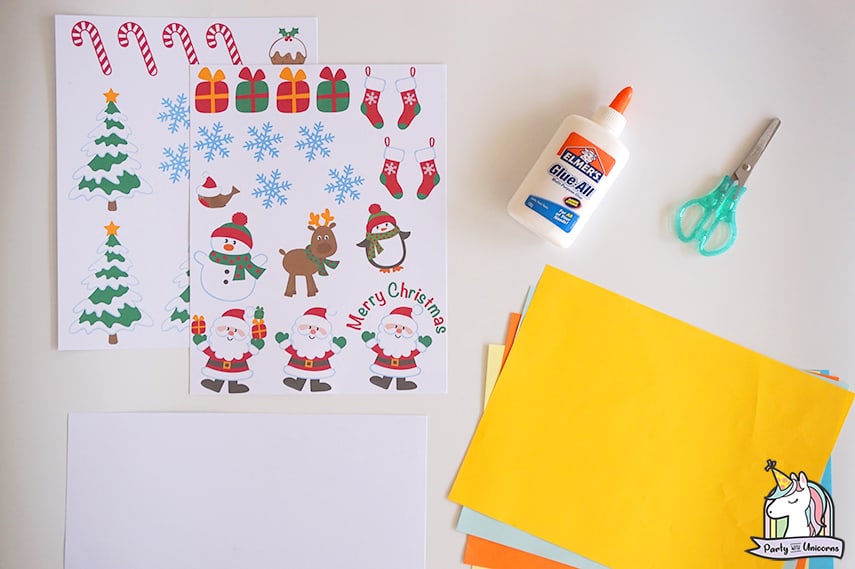
- Printed Graphics
- A4 Cardstock
- Construction Paper
- Glue
- Scissors
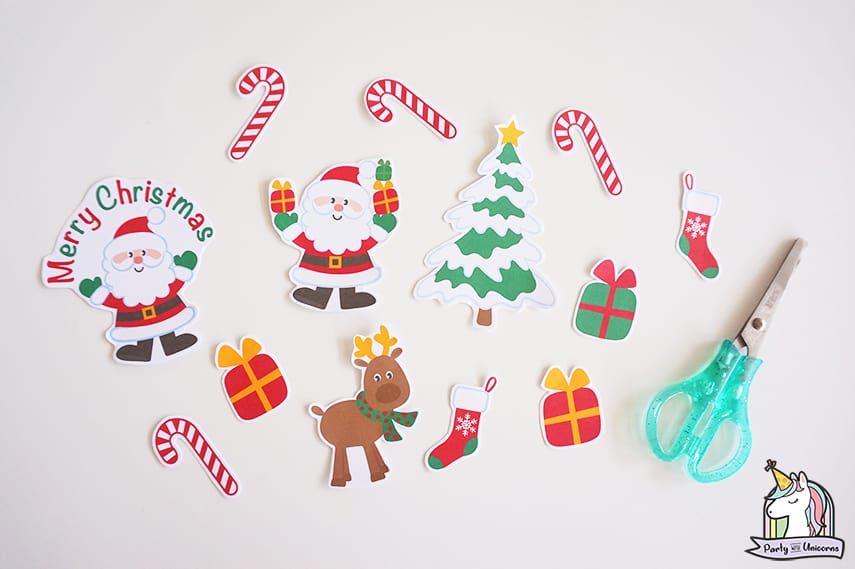
For the example cards, I have used the Christmas SVG set. In the tutorial below, I have just cut the graphics out by hand, but this set is also designed to work with cutting machines like the Cricut Design Space and Silhouette.
How to Get the Kids Involved?
If you would like to complete this craft with your kids, there are plenty of ways to get them involved depending on their age and abilities. For older kids, they should be able to follow the tutorial below without any trouble. My kids are all under five, so I do not get them involved in all stages of the process as they do not have the dexterity or patience to follow the craft from end to end.
For example, one night we will sit down and look at all of the graphics and in the bundle and decide which graphics they like to use on their cards. I will then get all of the graphics ready and prepare the card templates without them. The next time I sit down with the kids, I will have all of the cut-out graphics set out on the table and give them each a pop-out card template. They will then get to designs their cards by their choosing graphics and by gluing down all of the pieces in their design.
I love sitting down with the kids as they are picking their graphics and hearing all about how they are designing their cards. When doing these sorts of activities, children’s creativity never ceases to amaze me. Why they are picking their graphics, and how they are deciding on the placements is always so interesting. I always find asking questions like “tell me what you are doing here” or “why have you chosen that picture” will help to get the kids talking about what they are doing and why. I always find there is more going on than meets the eye.
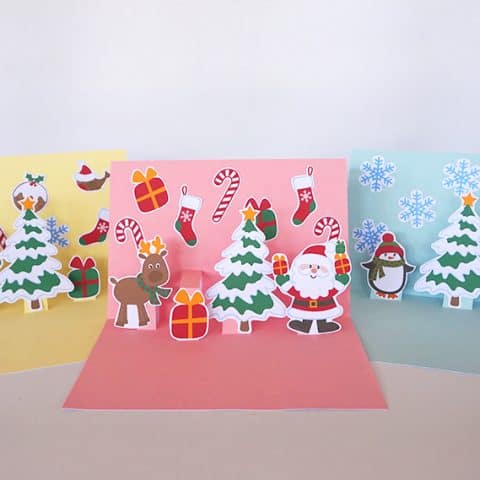
Christmas Pop-up Card
Cute and fun Christmas Pop-up Cards for Kids to make
Materials
- Printed Christmas Graphics
- A4 Cardstock
- Construction Paper
Tools
- Glue
- Scissors
Instructions
- Head over to Design Bundles and purchase the Christmas Craft bundle. To save paper when printing out your graphics, use Microsoft Word or Photoshop to place all of your graphics on a single page and print it out.
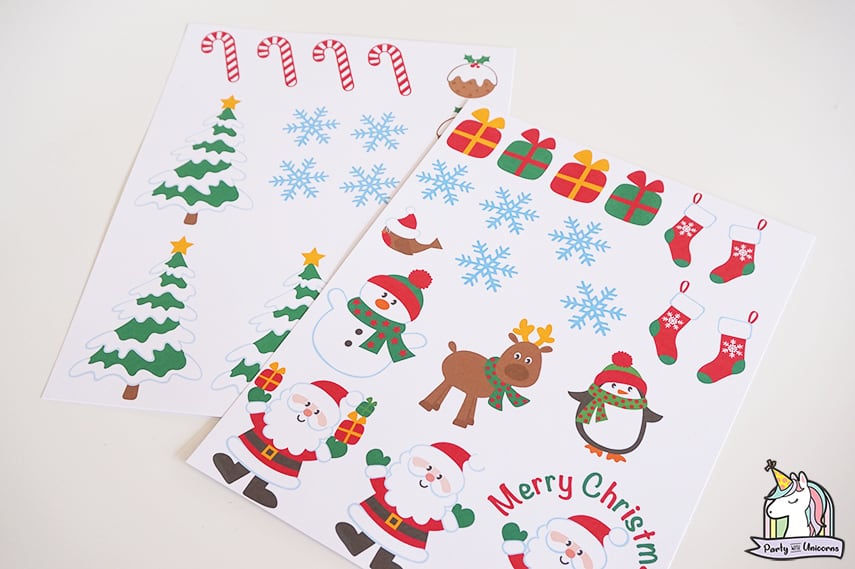

- Cut out the graphics.
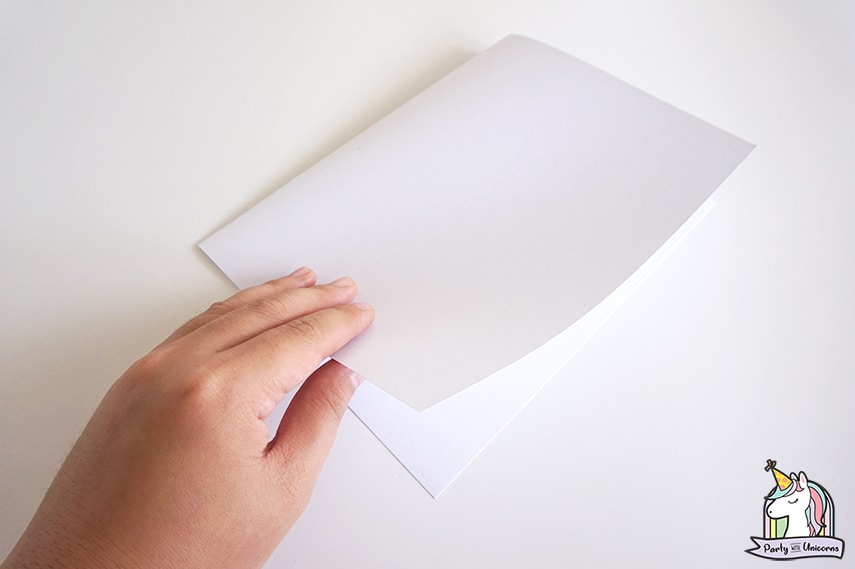
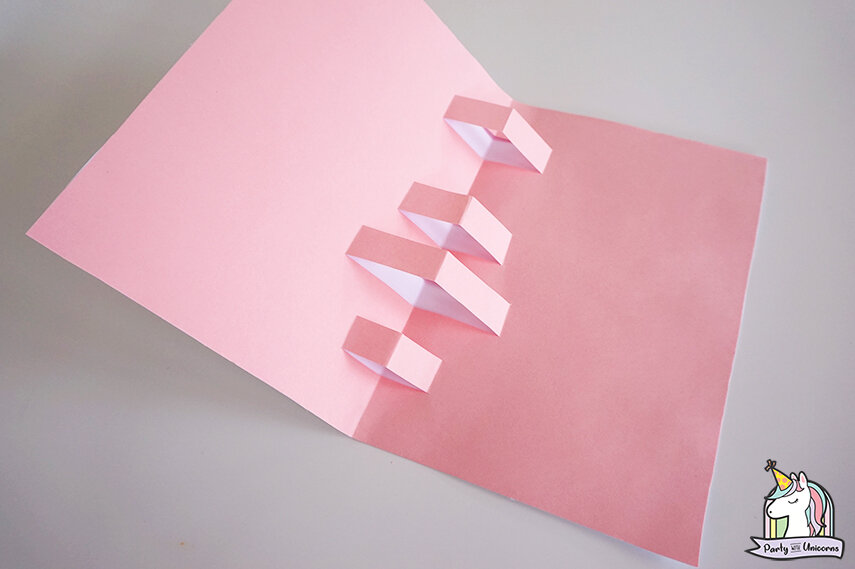
- Get your plain A4 cardstock and fold it in half.
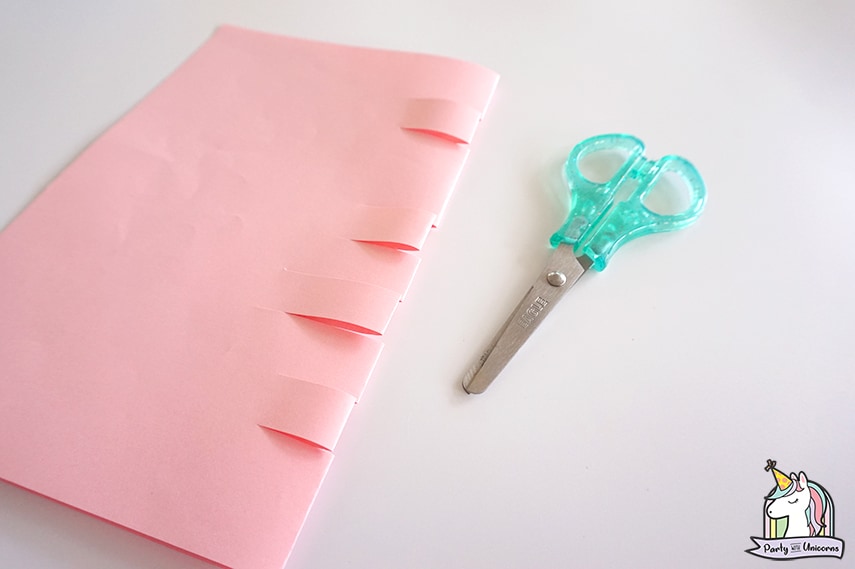
- Get your construction paper and fold it in half as well.

- Make cuts in the folded area of your construction paper. The number of cuts will depend on how many cut out graphics you want to pop out.
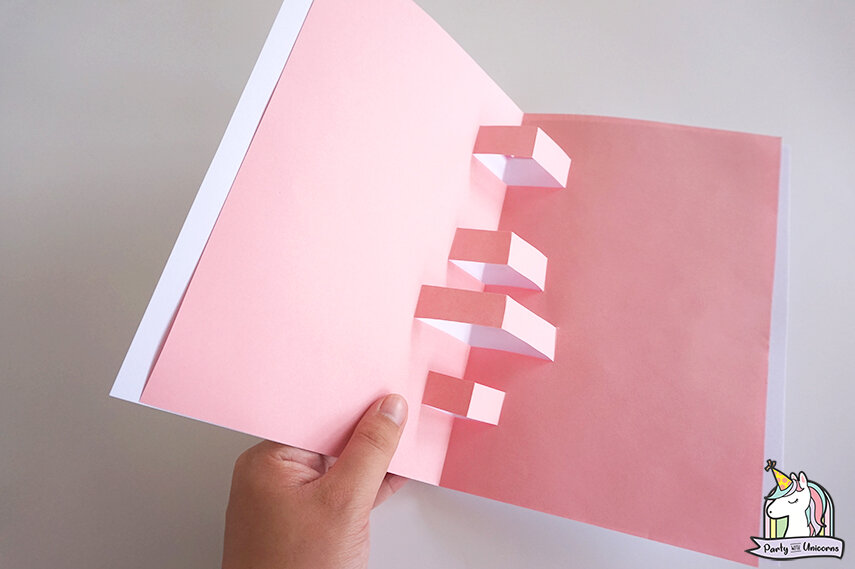
- Open the folded construction paper and gently push the tabs out. Make sure to crease the tabs firmly in the opposite direction so that it will stand away from the cardstock when glued.

- Glue the construction paper on top of your A4 cardstock. DO NOT apply glue into the tab section.
- If your construction paper and cardstock are not the same sizes, you can trim it down to fit.
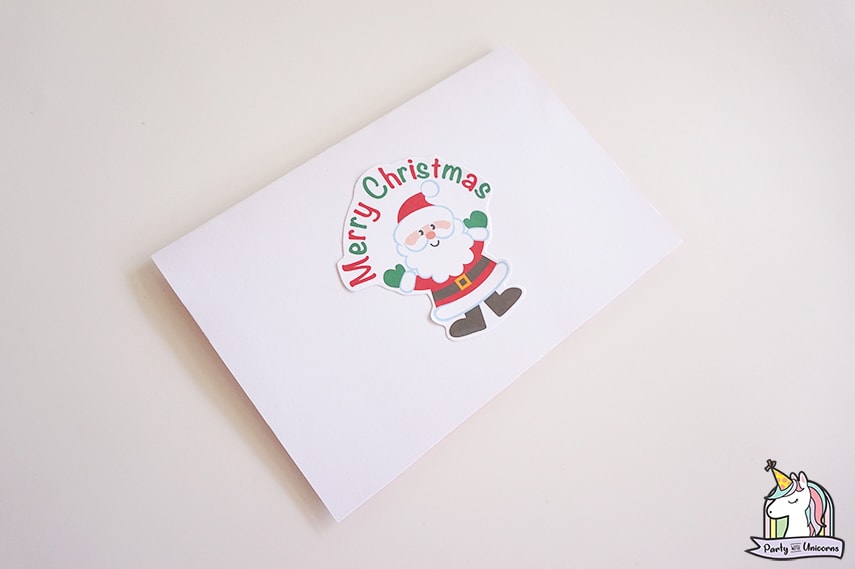
- Fold-down the card to reveal the card's front part. Glue a chosen Christmas graphic on top.
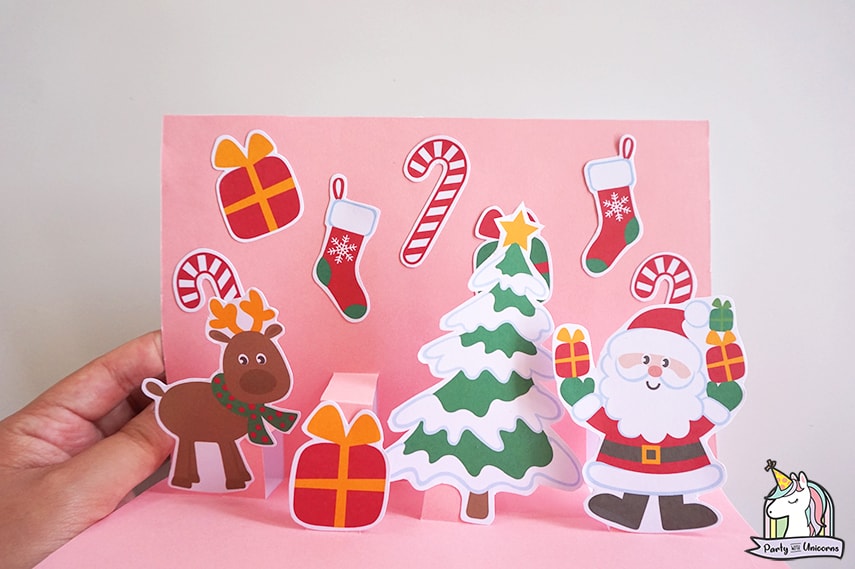
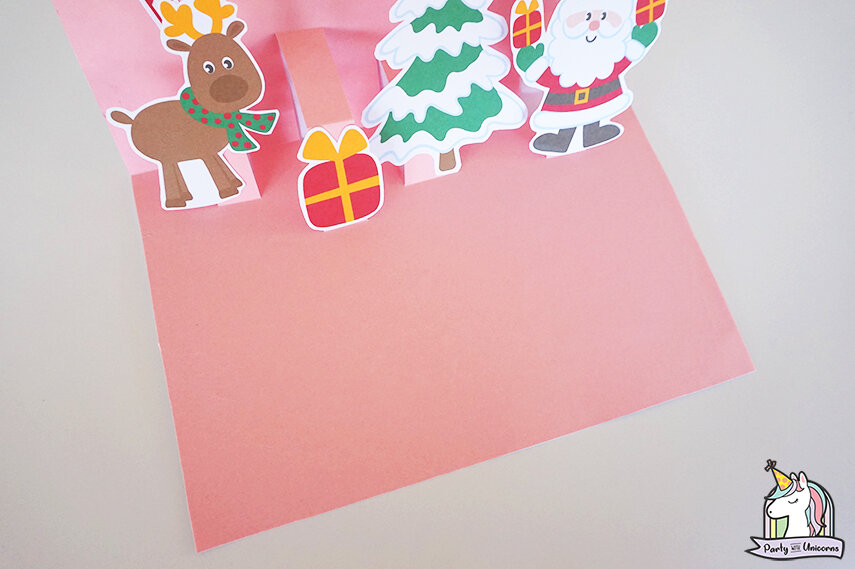
- Once the glue is dried up, open the card and attach the cutout graphics you want to put inside. Apply glue to the bottom part of the tab and push your chosen pop-up graphic/s. Stick photos in the background as well to make your card more festive looking. Note: DO NOT apply glue on the top of the tab or your cutout will not pop out properly.
- Use the available space of your card to write down your greetings or messages to the person you wish to give your card.
And you are done! You can mix and match all of the Christmas graphics to create a variety of card designs.
I hope you enjoy this craft tutorial, and that you find some time to enjoy a craft or two with your kids this holiday season. If you have any questions, please reach out in the comments below.
More Christmas Craft Ideas
If you are looking for some more fun Christmas Crafts to do with the kids, check out these fun ideas:
Happy Christmas Crafting everyone!