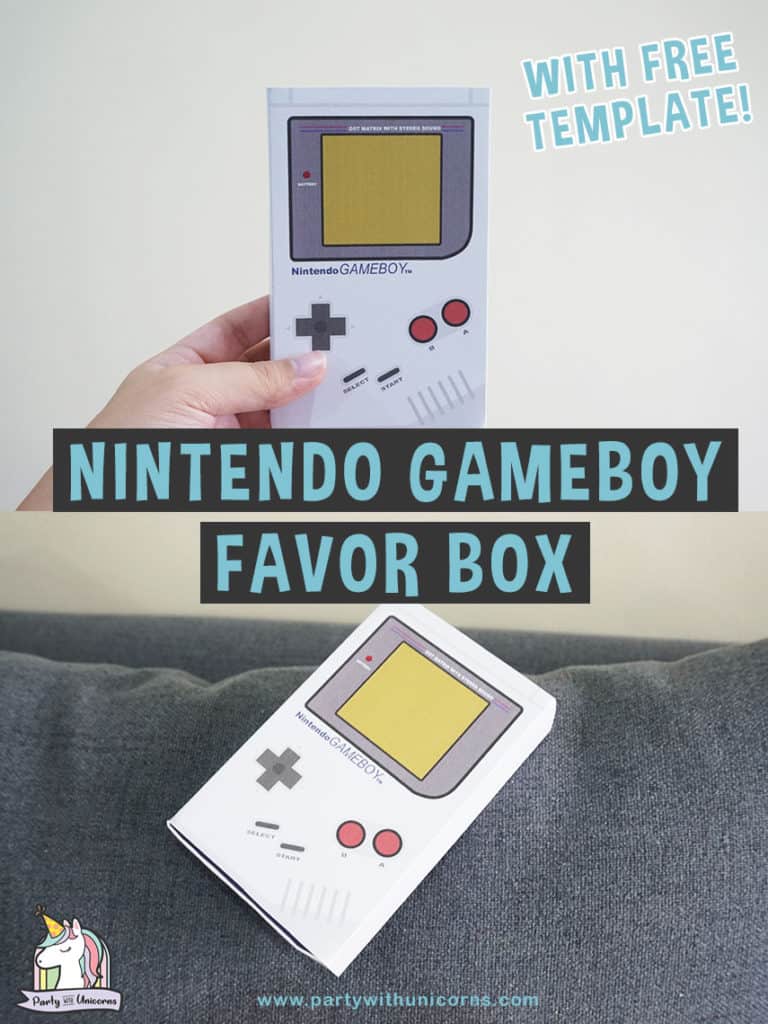
Okay, I am very excited about today’s Nintendo favor box. I remember hours wasted away as a child playing Gameboy with my friends. While I have made this box for a kid’s Nintendo SuperMario Bros. themed birthday party, I think that this little number might be just as popular with all of the parents. I even think it could be a great gift box for father’s day!
I have been sitting here trying to think back to all of the games we used to play on our Gameboy. The ones that spring to mind are Dr. Mario, Tetris and some sort of motorcycle game that I spent ages trying to get the guys to go around the full loop without falling off his bike? It was one of the first games to come out but I have no idea what it is called. If you have any idea what games that might be, let me know in the comments below.
Nintendo Favor Box Supplies
Okay, that enough of a stroll down memory lane, back to the task at hand. This box is super easy to make and an easy craft to do with the kids. If you are having a Nintendo party, getting the kids to help put together these favor boxes is a great way to get them involved in the party planning.
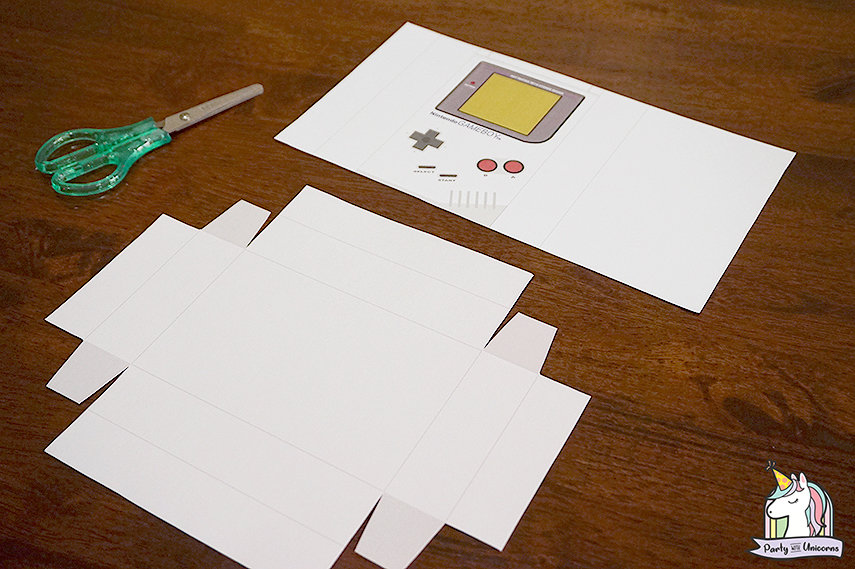
Let’s start, shall we? Prepare the materials needed:
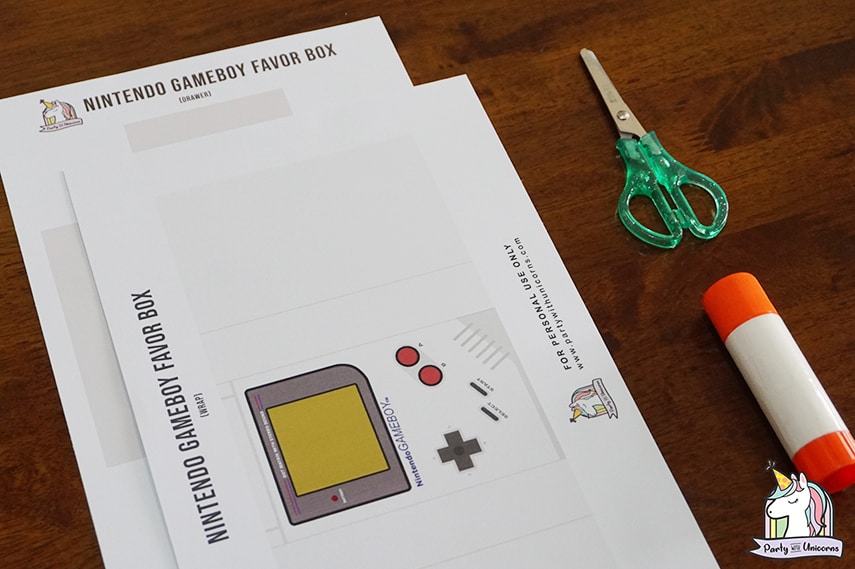
- Free Nintendo Gameboy Favor Box Template
- Scissors
- Glue
Okay, now on to the main event. Simply follow the instructions below to get your super cool Nintendo Favor Box all ready to go.
Nintendo Gameboy Favor Box
Free Nintendo Gameboy Favor Box Template for personal use
Materials
Tools
- Scissors
- Glue
Instructions
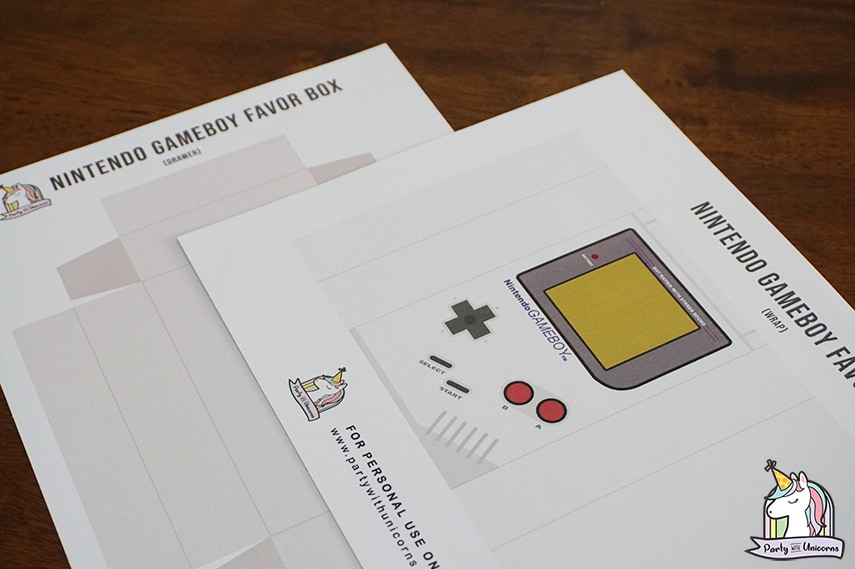
- Download the Nintendo Gameboy favor box template and print it.

- Cut it out.
- Fold the parts where you can see the solid lines. Do this on both template (drawer and wrap)
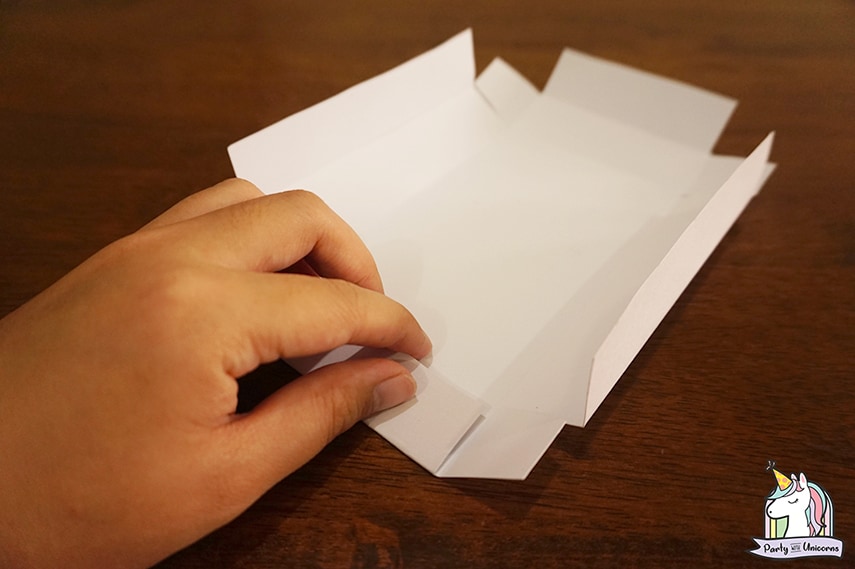
- To create the box drawer. Apply some glue on each flap of the box drawer template. Fold and stick it to the sides to secure the box.
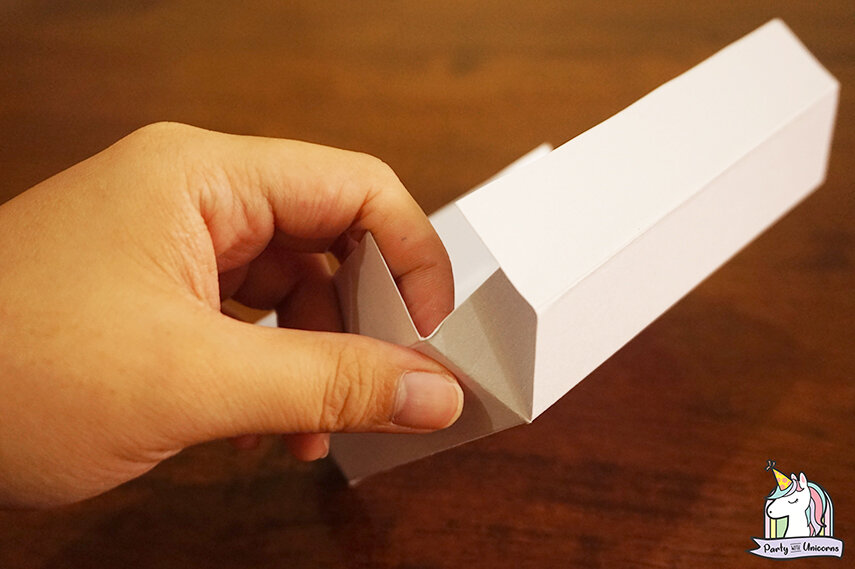
- Once you’re done sticking all the flaps on each side of the box drawer, fold the upper part of the template inwards to cover the flaps. Glue to secure.
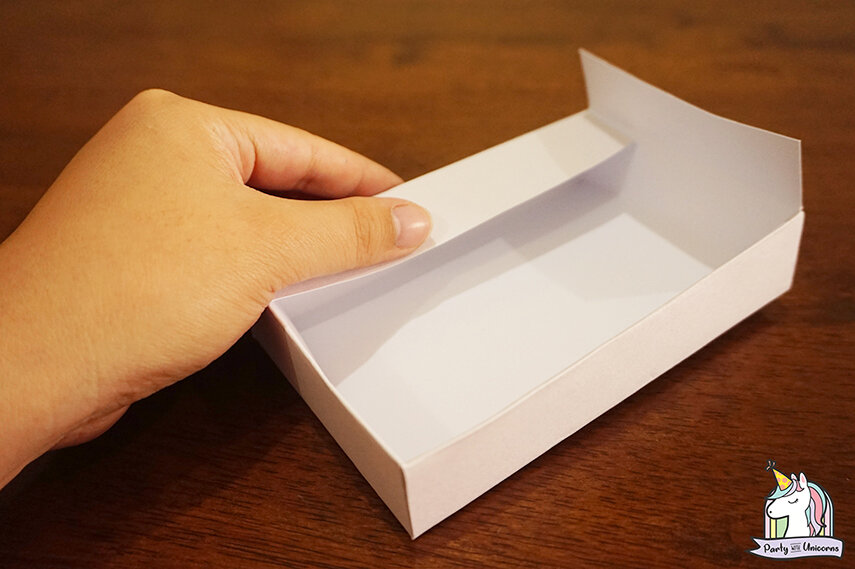
- To assemble the box case, apply glue on the flap and stick it together with the bottom part of the case template.
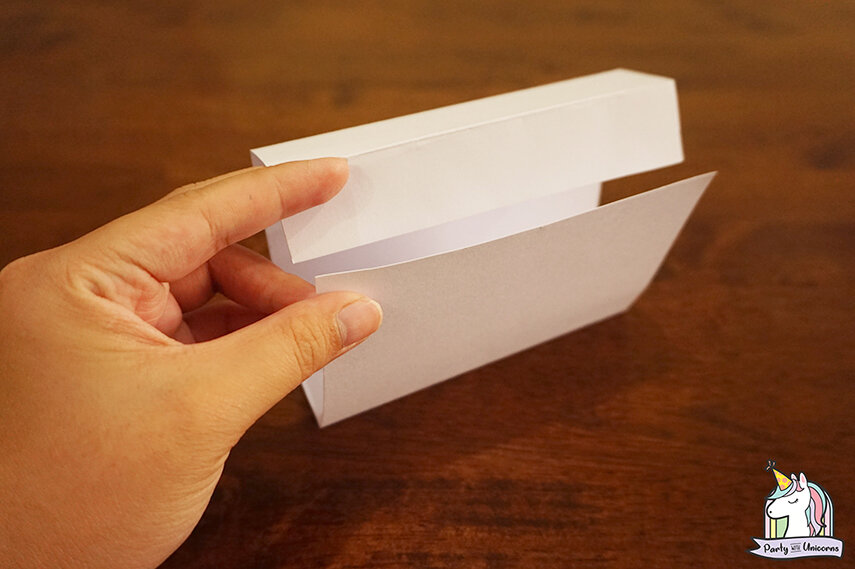
- Make sure the flap is glued inside the case to have a neat-looking box case. Leave it out to dry.
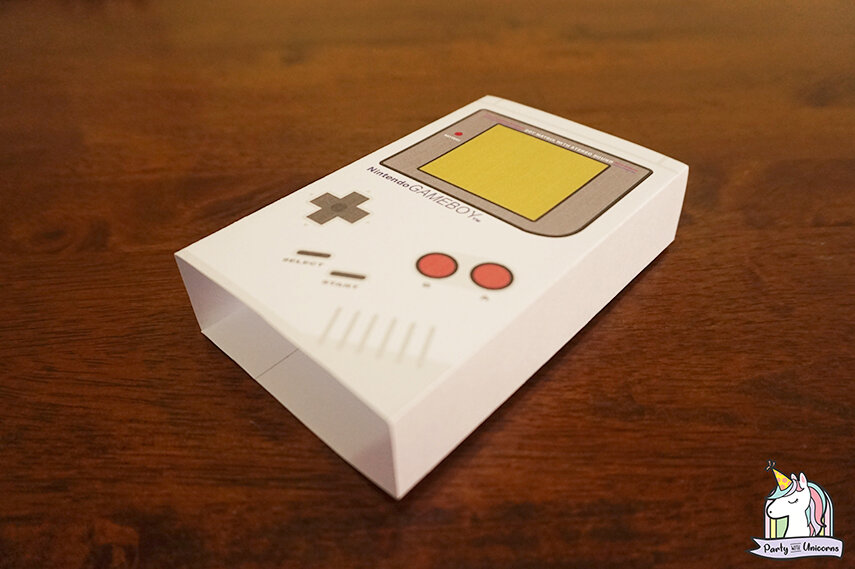
- Insert the drawer to the case.
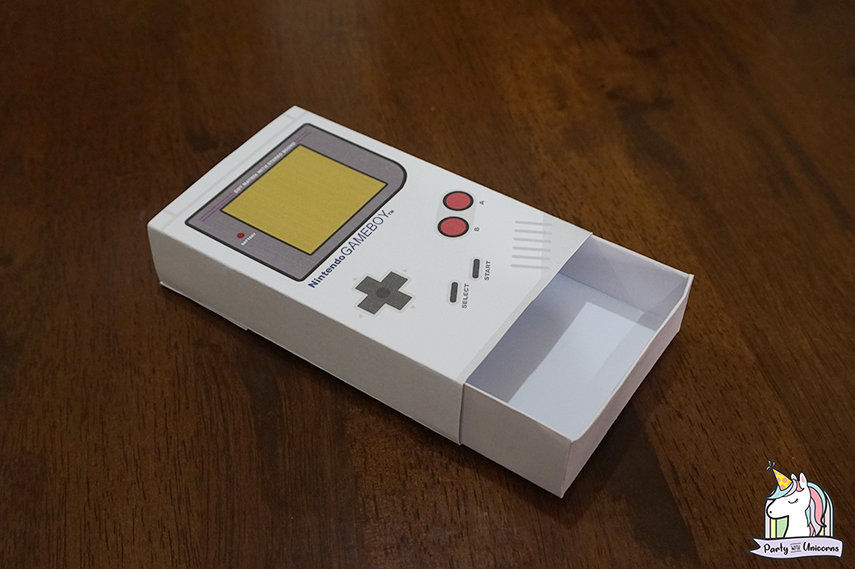
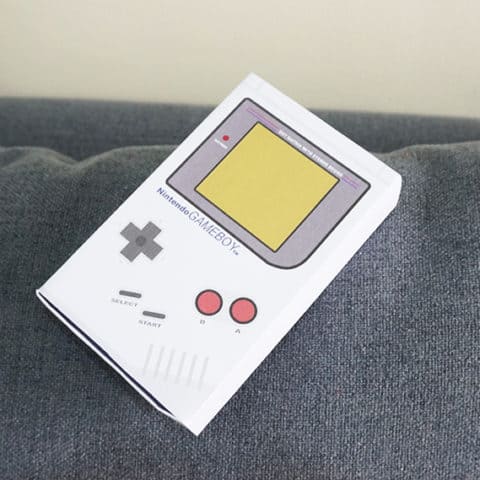
And you’re done! You now have your very own Classic Gamebox favor box. You can use this box for birthday parties or just a fun activity to make with your kids.
If you use any of our printables, we always love it when you tag us in social media and show us the great results. You can find us on Facebook, Pinterest, and Instagram. You can also follow our social media accounts to be kept up to date with new freebies as they are posted.
That’s all for now, happy crafting everyone.