September is near to its end and most of us parents are busy preparing for all the upcoming holidays from October to December. This is the time of the year where we all become busy bees thinking of ideas on how to make this year’s holidays a little extra special.
If you live in a country that celebrates Thanksgiving, then you have a little bit extra to plan for during this busy time. Thanksgiving to me has always been such a lovely time to sit down with the family and take a minute to enjoy the things we are grateful for, like friends and family.
As lovely as it is, its also a lot of work! With kids, I always find that keeping them busy while I am preparing is half the battle. So far I have posted two Thanksgiving Crafts to help keep the kids busy including a Thanksgiving Turkey Cutlery Holder and Thanksgiving Paper Wreath.
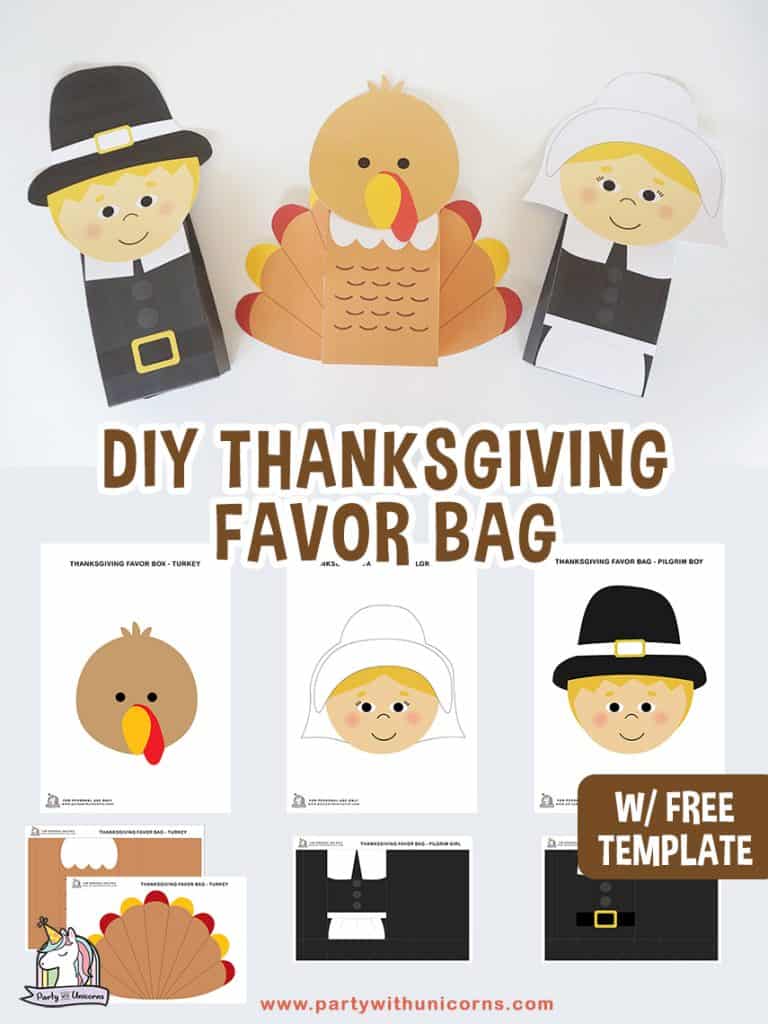
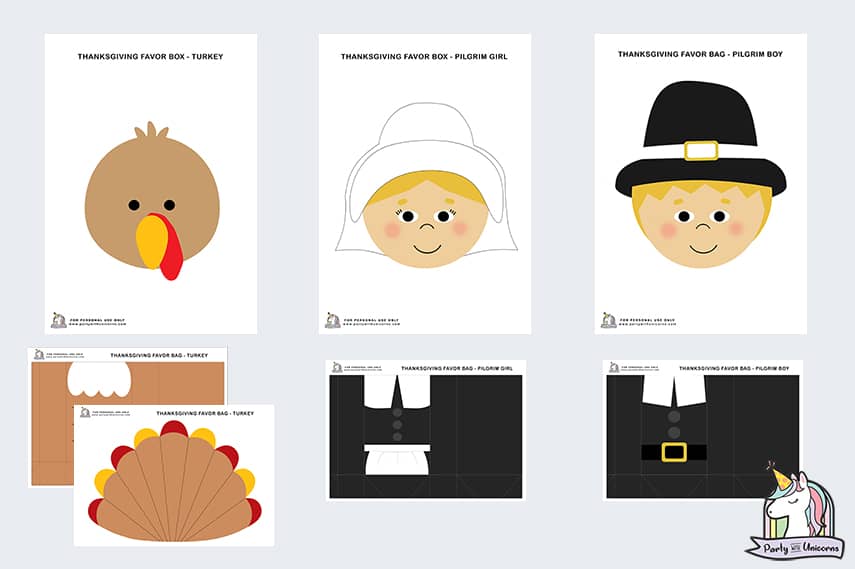
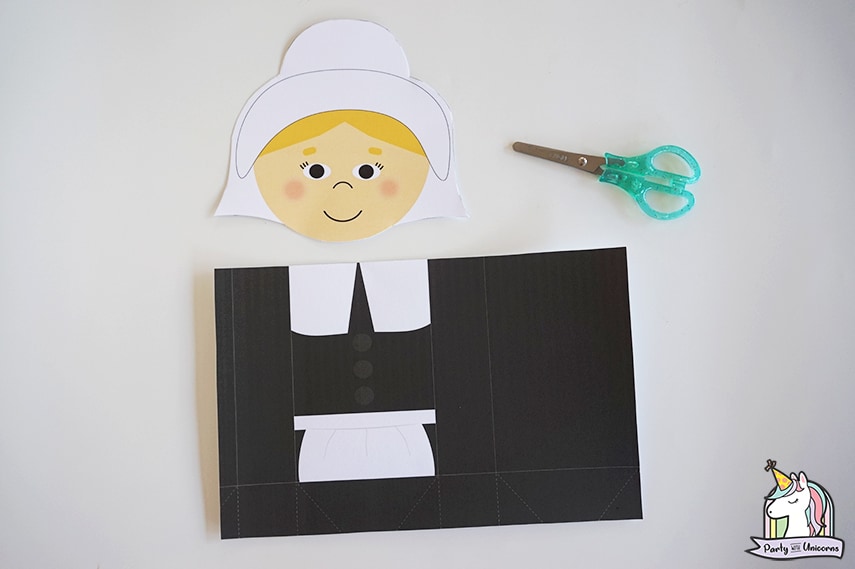
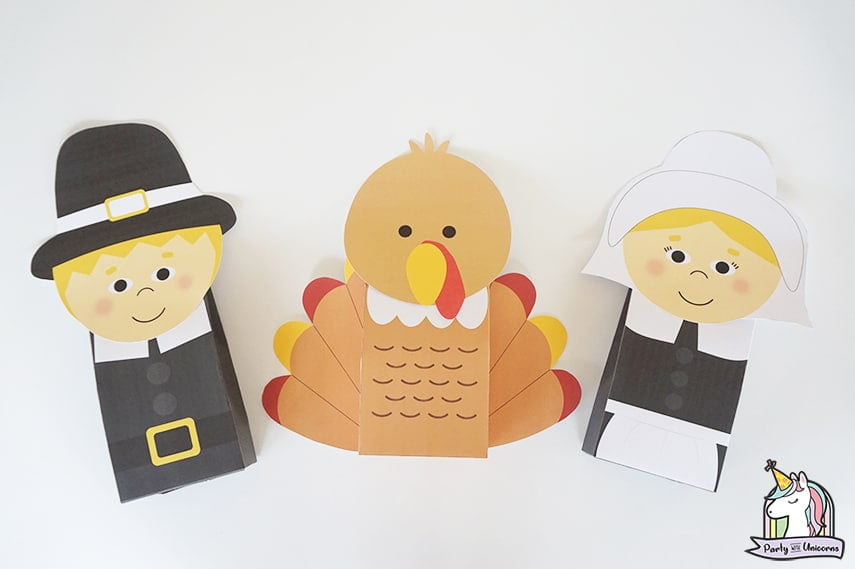
The newest addition to my Thanksgiving craft series is this DIY Thanksgiving Favor Bags. I created 3 designs (Turkey, Boy Pilgrim and Girl Pilgrim) that you can use and it is super easy to make!
My ideas for the bags is that you could get the kids to create the bags and fill them with a small treat for other members of the family on Thanksgiving or you could create the bags and use them as busy bags. Basically fill the bag with a little treat for the kids and then pull them out on Thanksgiving morning. Include a small toy or activity that will keep them busy long enough to get your essential Thanksgiving prep done.
DIY Thanksgiving Favor Bags Supplies
Let’s begin by gathering the supplies needed:
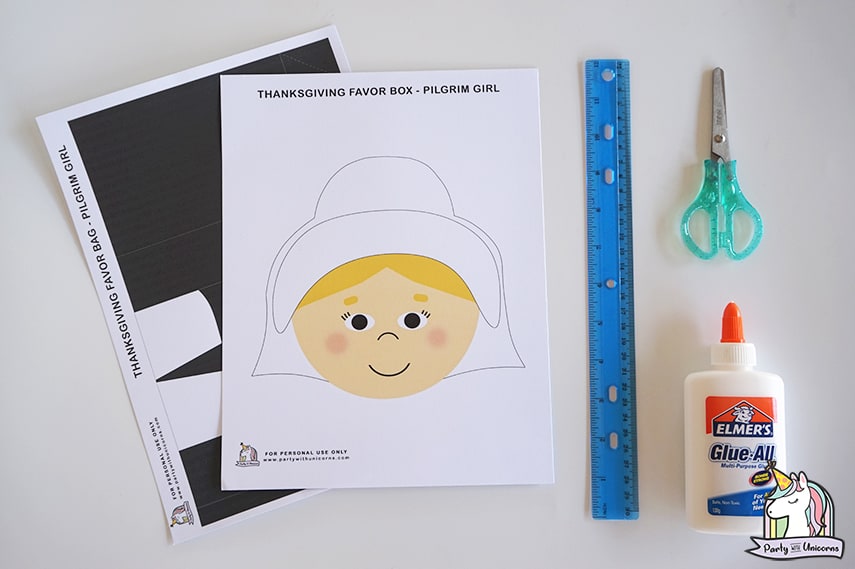
- Printed Thanksgiving Favor Bag Template (best printed on cardstock)
- Ruler
- Glue
- Scissors
Thanksgiving Favor Bag
Cute Thanksgiving Favor Bag for Thanksgiving treats
Materials
Tools
- Ruler
- Glue
- Scissors
Instructions
- Download the free thanksgiving favor bag template and print it out.

- Cut out the template.
- Cut out the broken lines to create flaps.
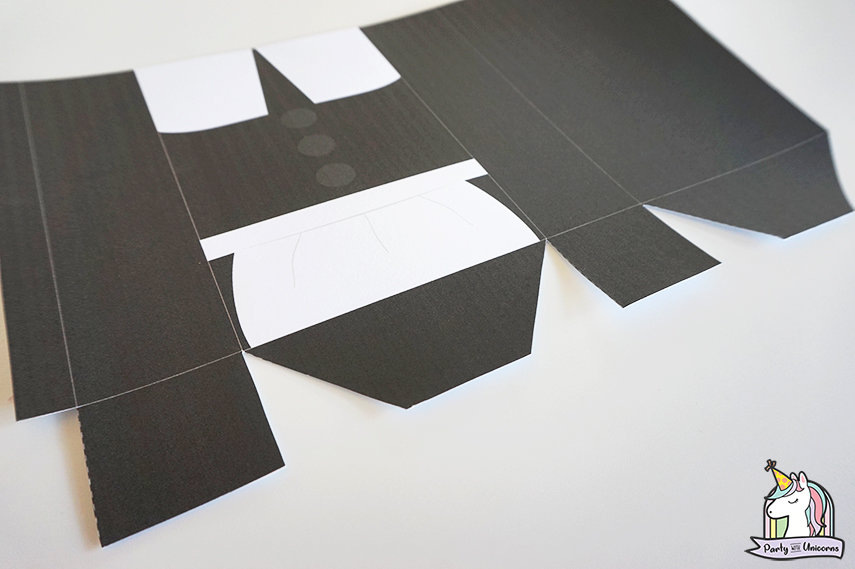
- Fold the solid lines. Use a ruler to create a perfect crease.
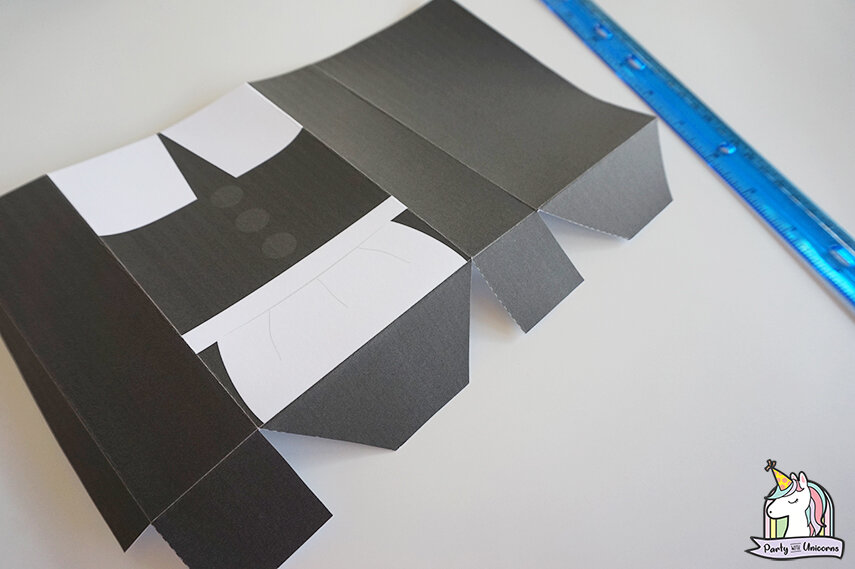
- Glue the flap together to attach both sides.
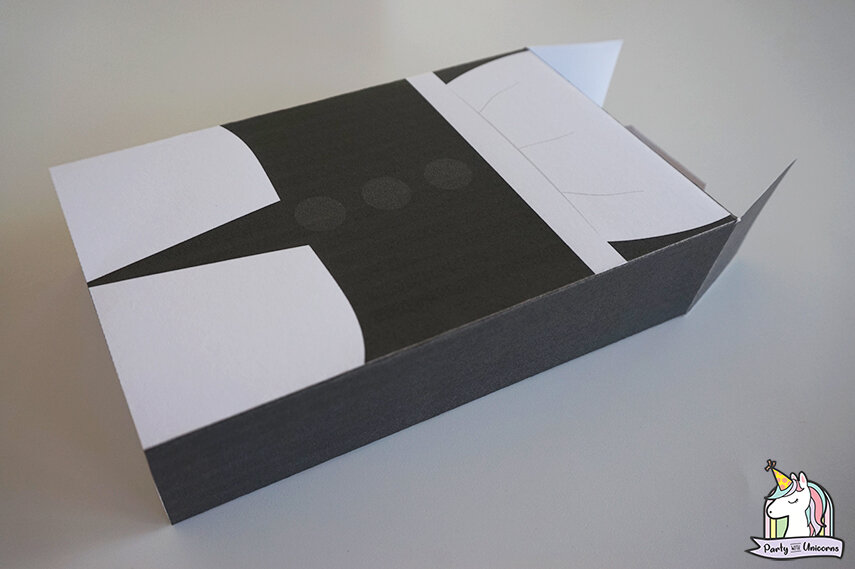
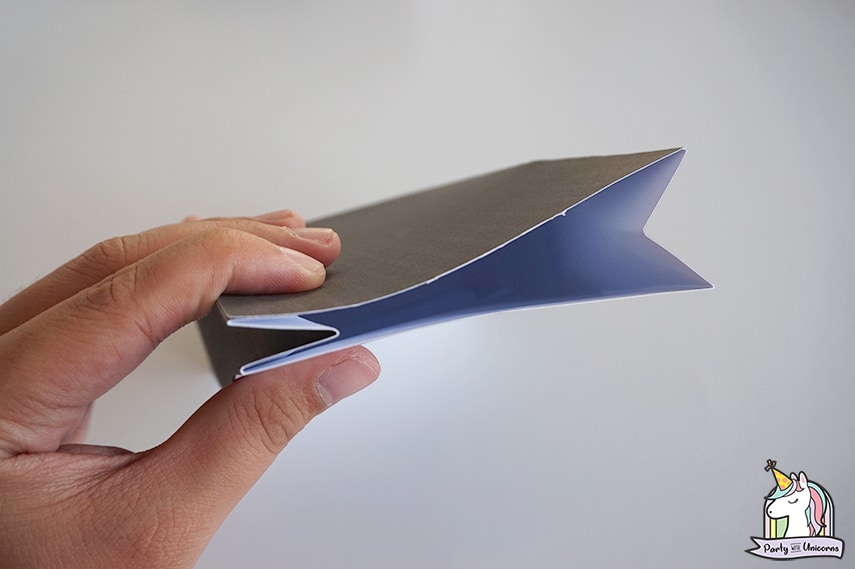
- Fold-down the flaps on the bottom part of the bag and glue to secure.

- Create a v-shaped crease on each side of the paper bag and fill it in with goodies. Glue or tape to close.
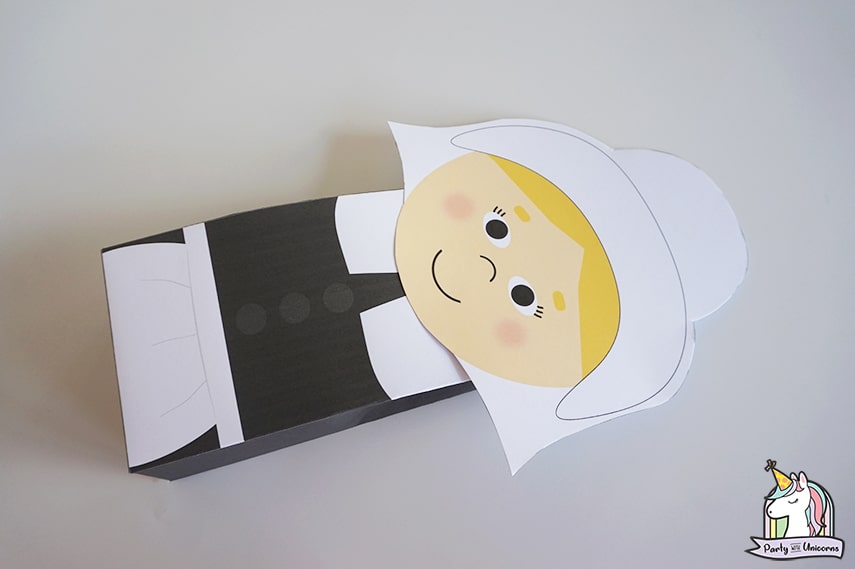
- Glue the head on top of the body. If the template you use has other parts (e.g. Turkey Favor Bag Template), this is the time to glue it as well.
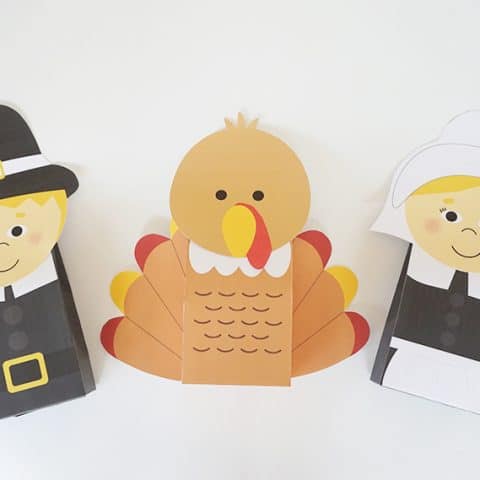
And you’re done! Complete making all the designs to have a variety of Thanksgiving Favor Bags for your kids and guests.
I hope you enjoy these favor bags.
If you try to use any of our templates, we’d love to see your creations. Tag us on social media or send us images of your creations to be featured on our social channels.
Happy Thanksgiving Everyone