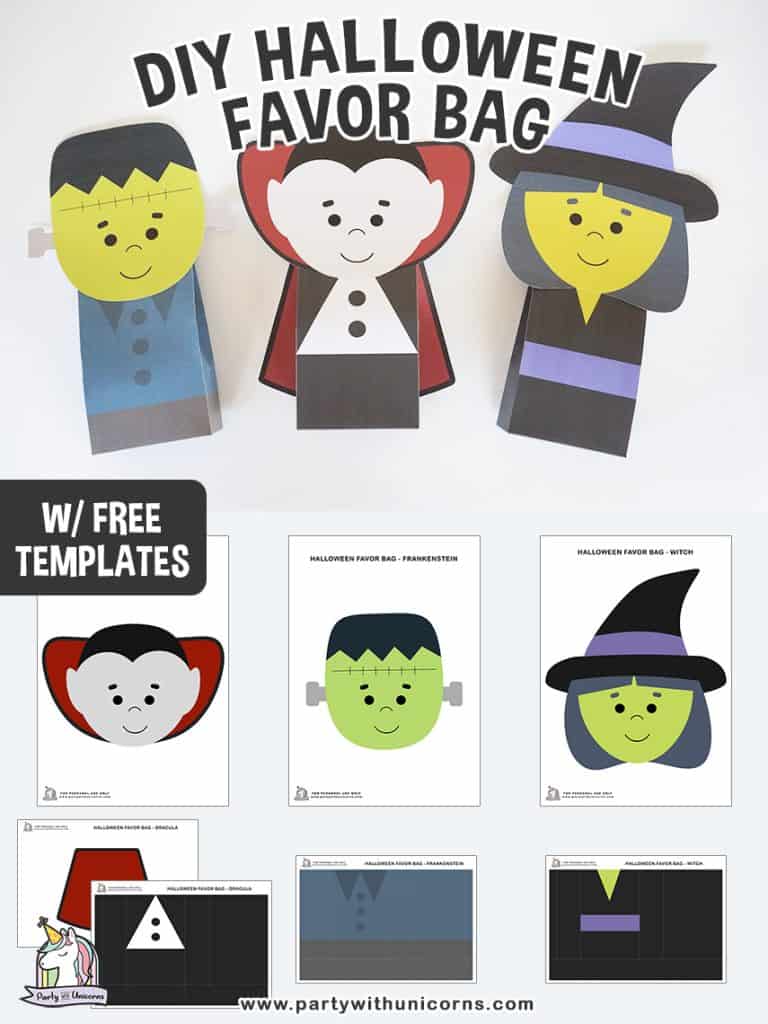
Just a few days from now and it’s already October which means it’s Halloween time! Woah! Time really passes so quickly. To help you get prepared, I’ve created a number of Halloween themed kids crafts for you to use.
Today, I’m sharing this cute set of Halloween Favor Bags to put your yummy Halloween treats. These bags are a super fun way to wrap up a Halloween themed gift or an excellent way to send your child to school is a super fun Halloween lunch bag.
Supplies Required for Halloween Favor Bags
Let’s begin, shall we? Supplies needed are the following:
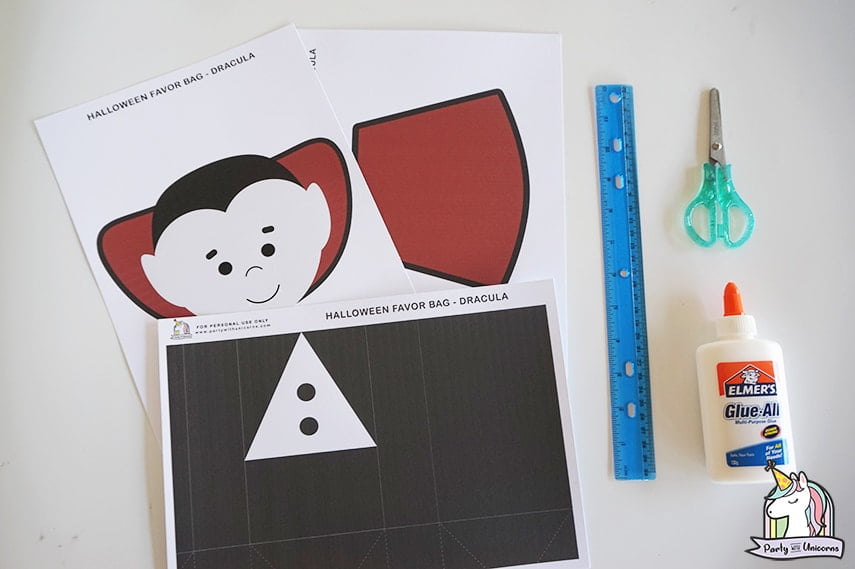
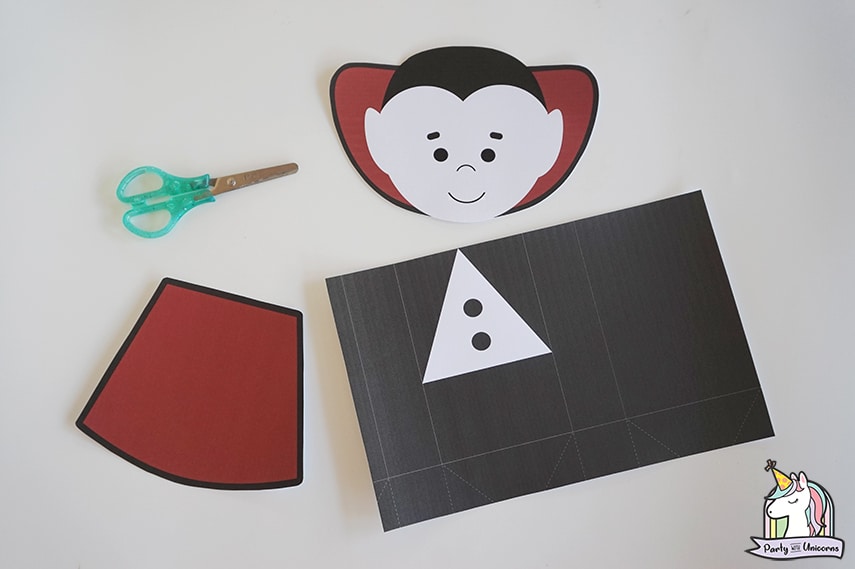
- Printed Halloween Favor Bag Template (best printed on cardstock)
- Ruler
- Scissors
- Glue
Halloween Favor Bag
Easy and cute Halloween Favor Bags
Materials
Tools
- Ruler
- Glue
- Scissors
Instructions
- Download the free halloween favor bag template and print it out.
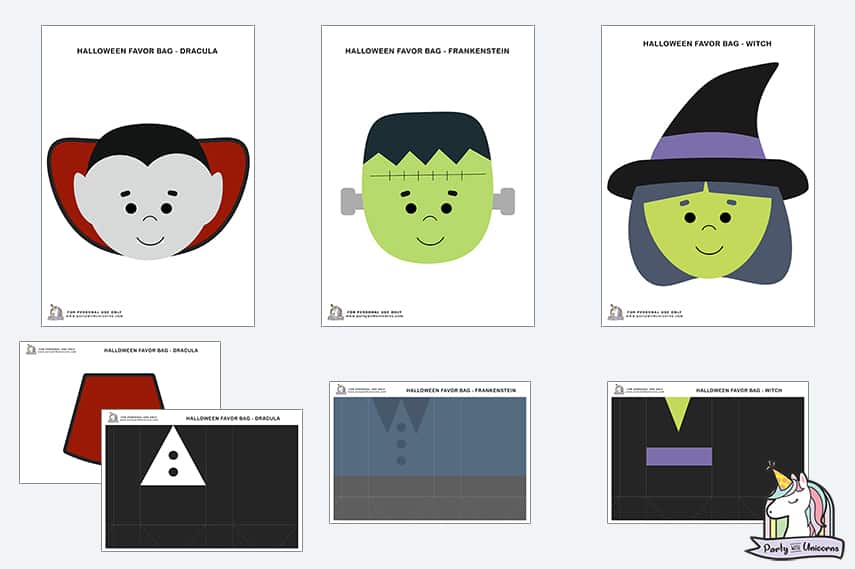

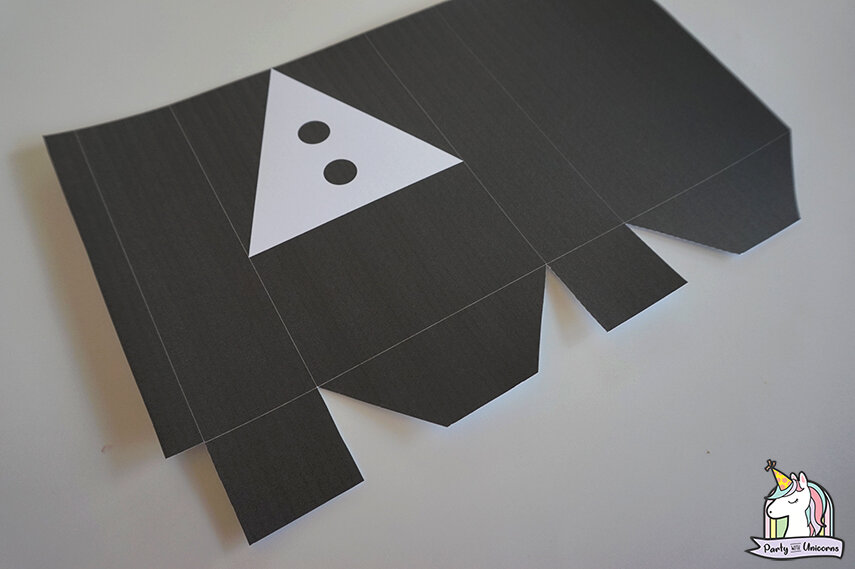
- Cut out the template.
- Cut out the broken lines to create flaps.
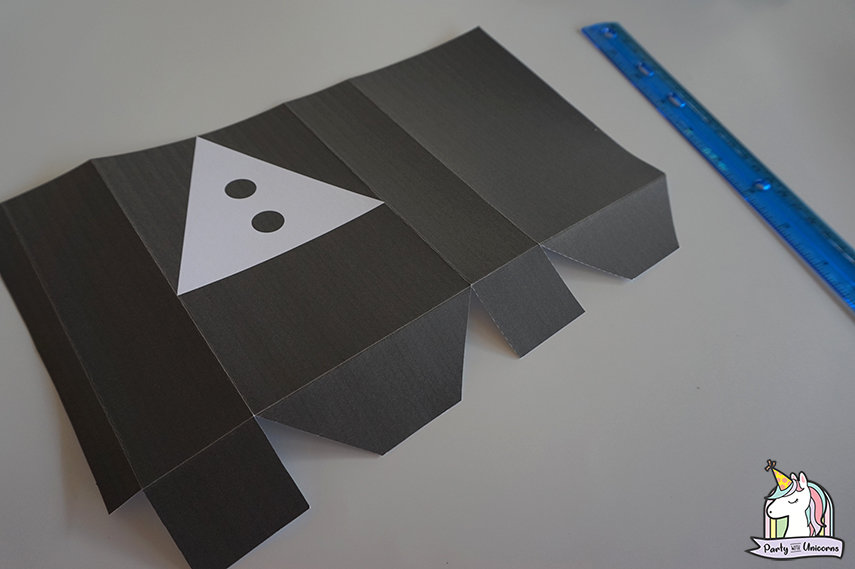
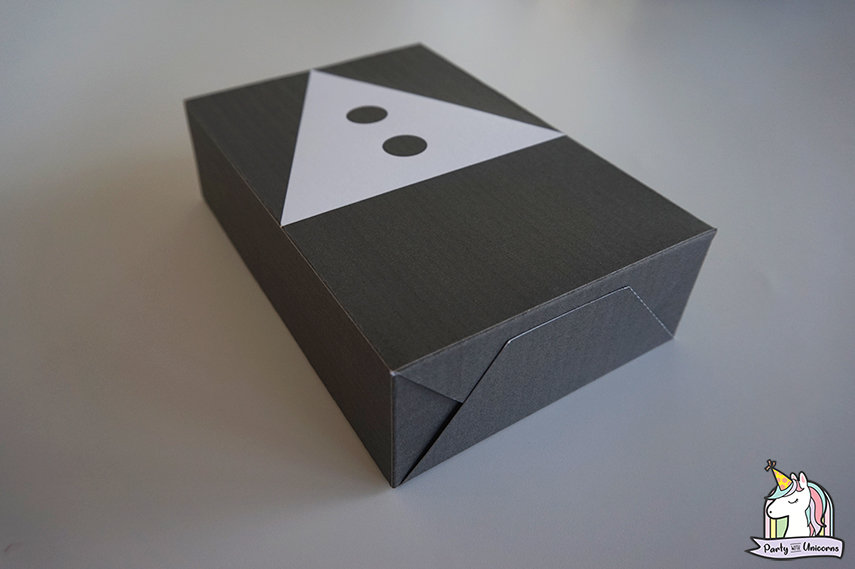
- Fold the solid lines. Use a ruler to create a perfect crease.
- Glue the flap together to attach both sides.
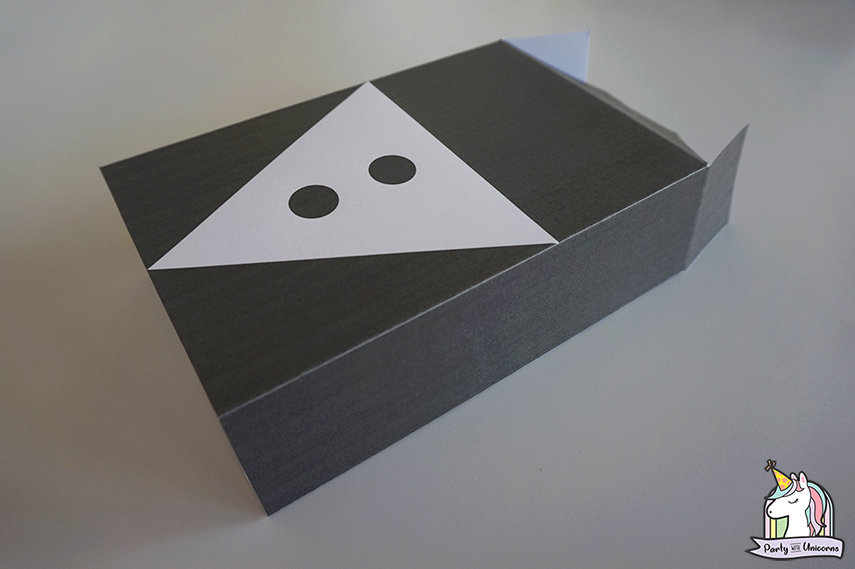
- Fold-down the flaps on the bottom part of the bag and glue to secure.
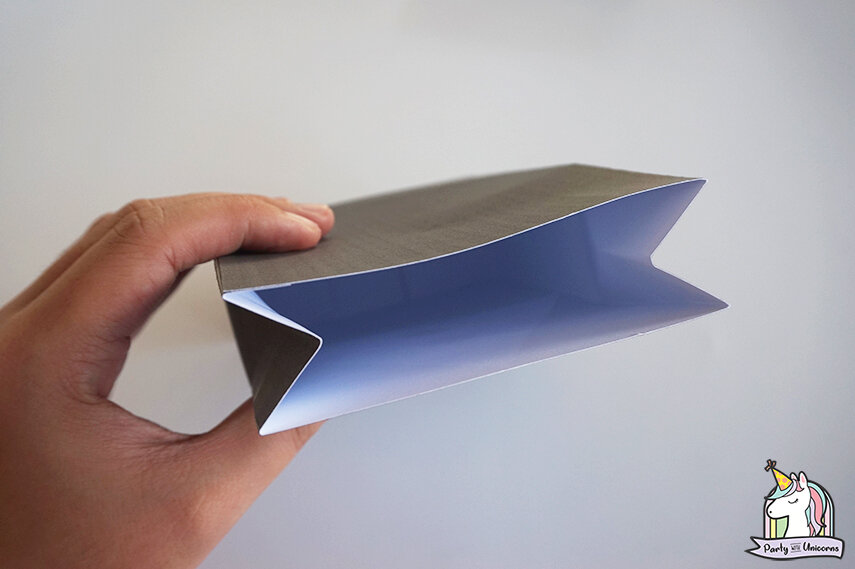
- Create a v-shaped crease on each side of the paper bag and fill it in with goodies. Glue or tape to close.
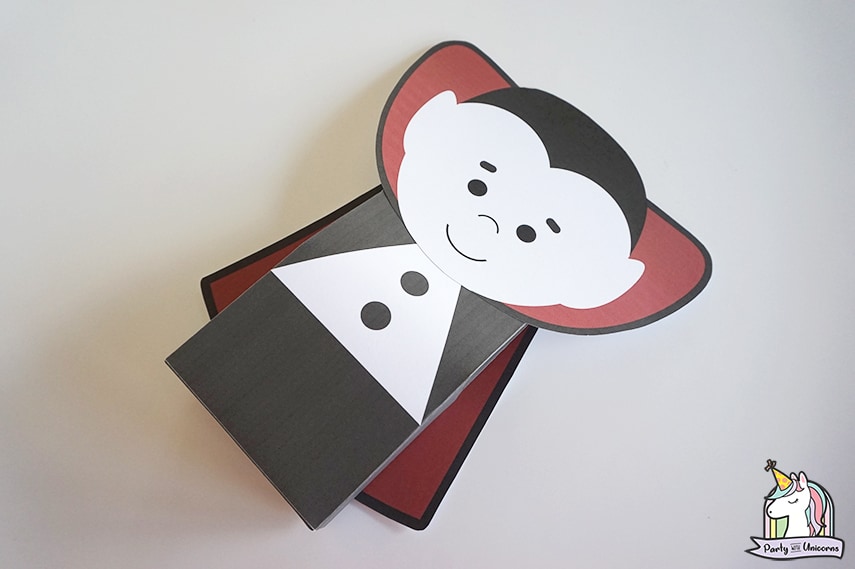
- Glue the head on top of the body. If the template you use has other parts, this is the time to glue it as well.
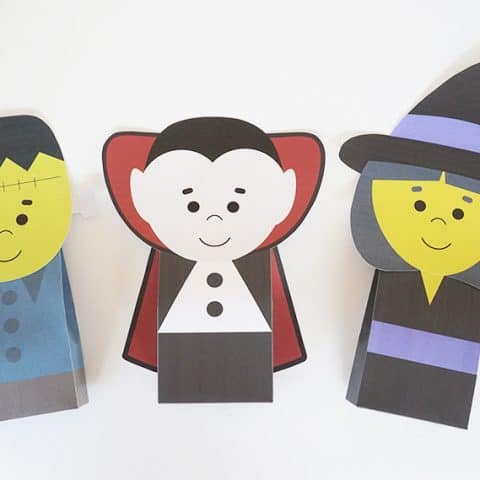
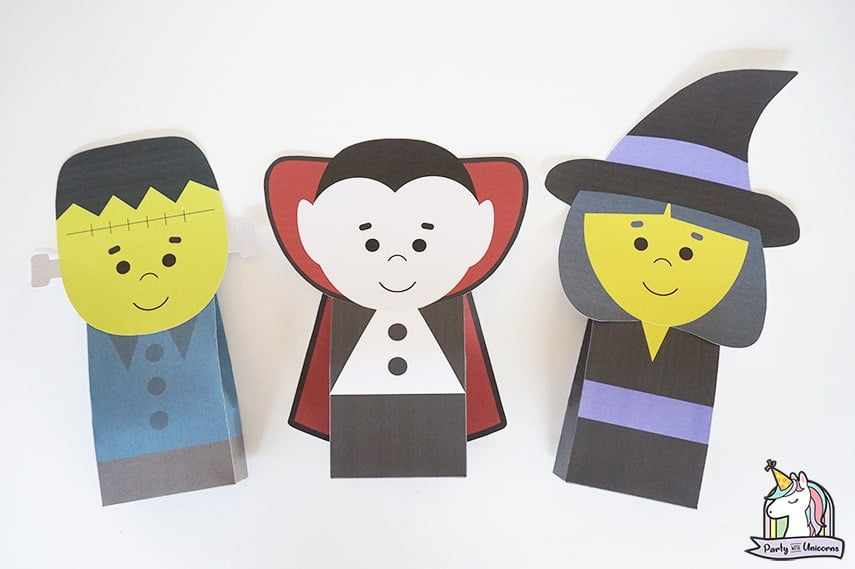
Well done! Let the kids choose what Treat Bags they want to have; Dracula, Frankenstein, or the Witch!
I hope you enjoy this little craft I shared today and good luck with the Halloween preparations this October. If you have other theme requests you want us to cover, the comment section is always available.
If you want to be kept up to date with all of our new crafts, be sure to sign up to our newsletter or follow us on Facebook, Pinterest or Instagram.
Happy crafting!