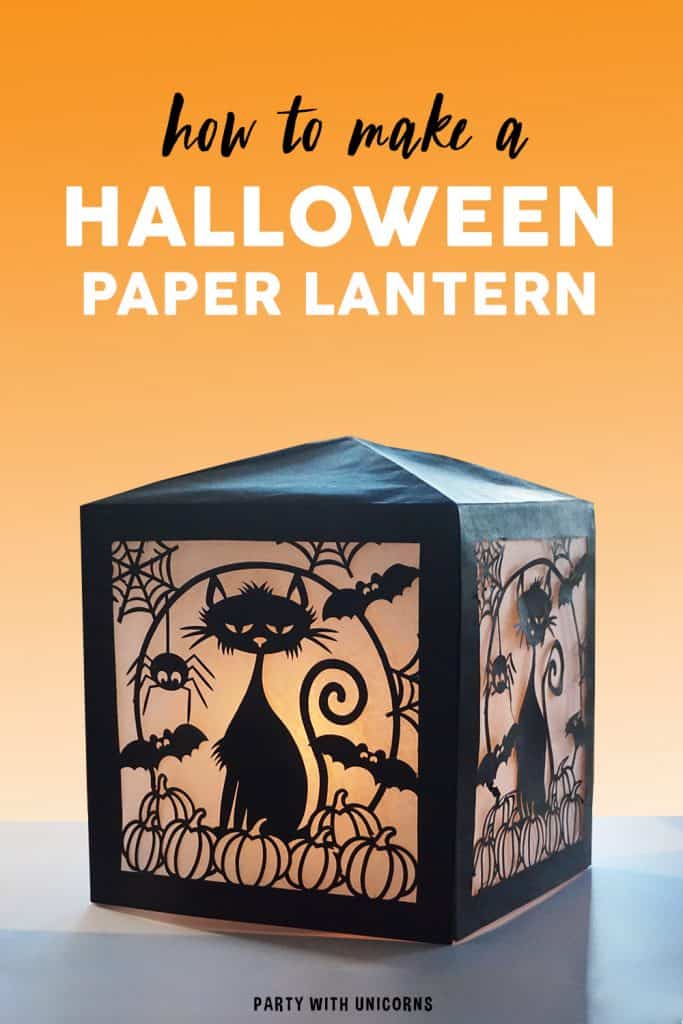
Halloween is one of my favorite times of the year. I love helping the kids plan out their costumes and I love throwing our annual Halloween party with all the kids from our little village! As soon as September hits, putting together some DIY Halloween party decorations are always at the top of my list.
For today’s project, I have just an SVG from Design Bundles to create this Halloween Paper Lantern. I know it looks intricate, but with a little help from our trusty Cricut Machine, this Halloween craft project is a piece of cake! If you don’t have a Cricut, don’t worry, we have you covered. Alternatively, if you don’t have a cutting machine, you can do this project with a craft knife and a cutting mat.
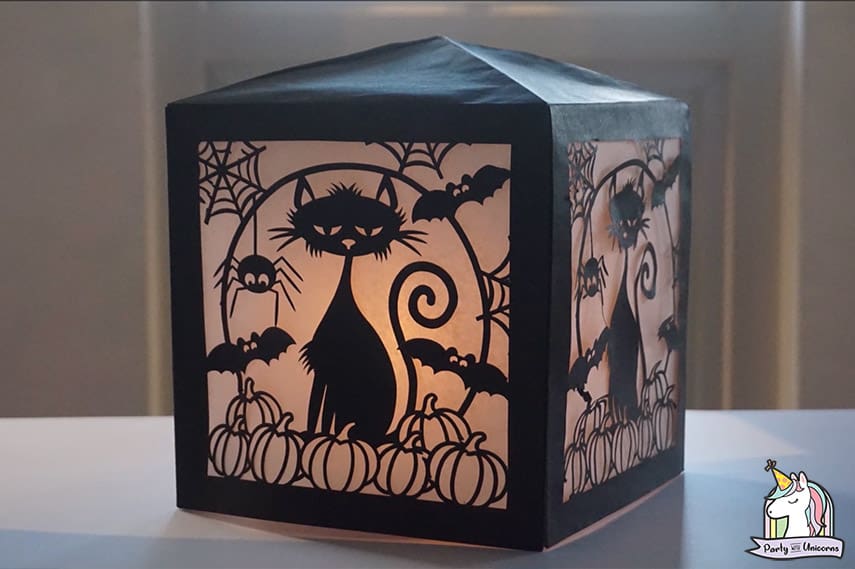
For today’s tutorial, I have created a four-sided lantern with the same design on each side. If you are feeling adventurous, try making a lantern with a different image on each of the sides.
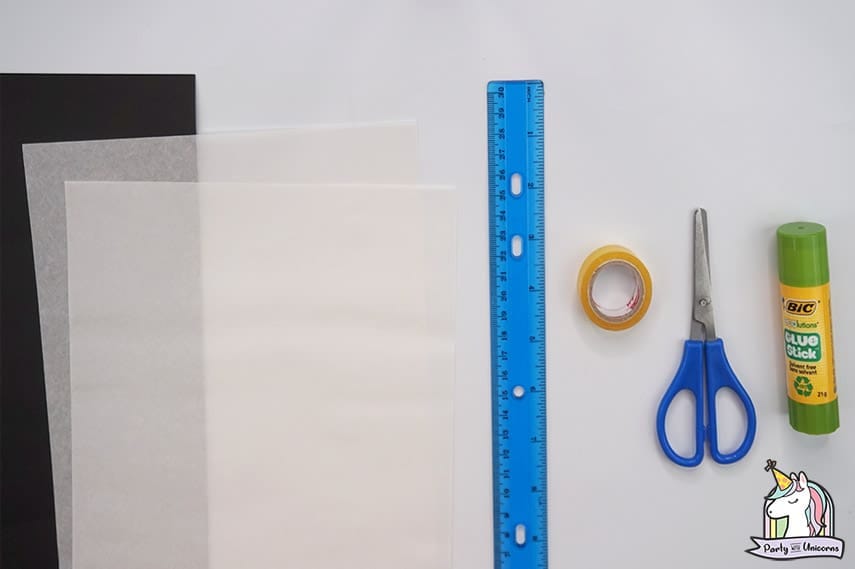
Before we get started, let’s gather the supplies we need for this project:
- Halloween Paper Lantern Template
- FREE Halloween Paper Lantern template
- 4 pcs 8.5x11in Black Paper
- 4 pcs 16x16cm Parchment Paper
- Ruler
- Glue
- Scissors
- Clear Tape
- Cricut Machine
- Flame-less LED Tealight candle
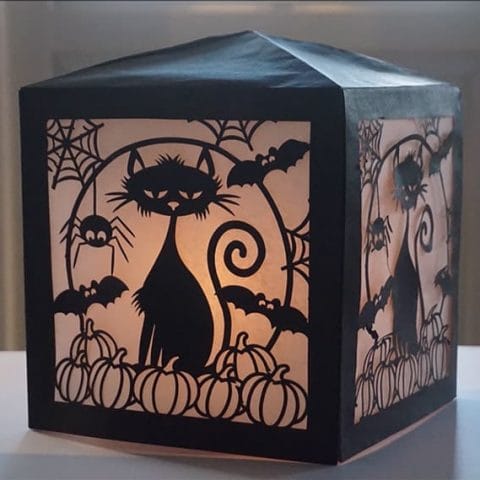
DIY Halloween Paper Lantern
Cool DIY Halloween Paper Lantern
Materials
- Halloween Paper Lantern Template
- 4 pieces 8.5x11in Black Paper
- 4 pieces 16x16cm Parchment Paper
- Clear Tape
- Glue
Tools
- Cricut Machine
- Scissors
- Ruler
Instructions
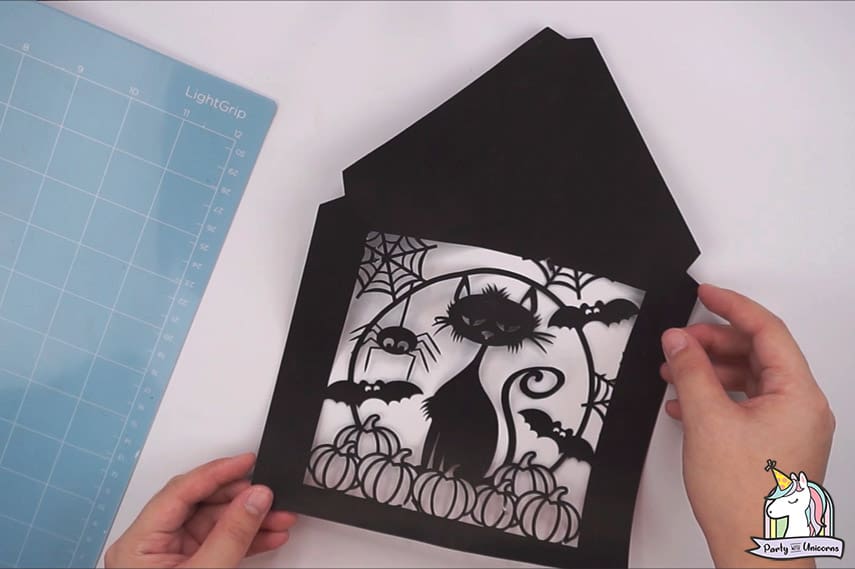
- Download any Halloween SVG file from Design Bundles and our FREE Halloween Paper Lantern template. Then cut it using a Cricut machine or by hand. Note: Watch our tutorial video to see the complete guide on how to upload our template and your SVG file in Cricut Design Space.
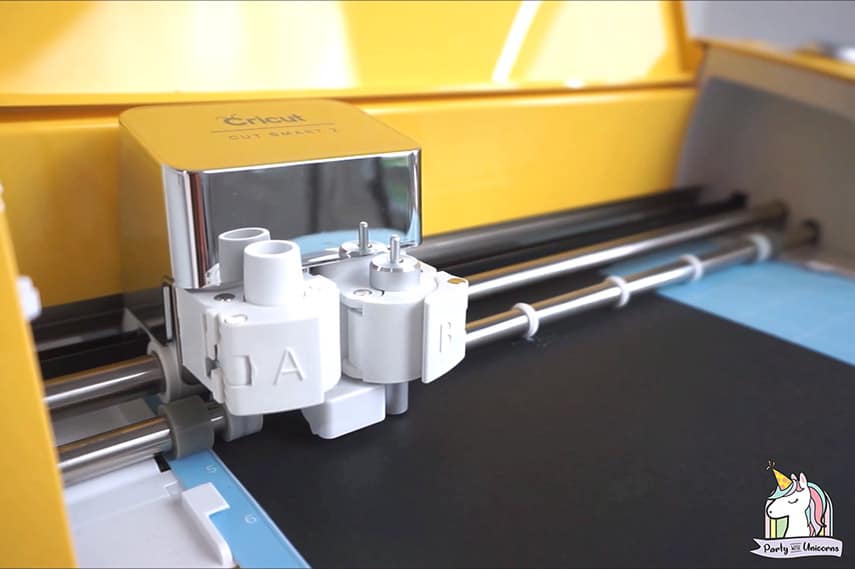

- After cutting, remove the paper from the cricut mat.
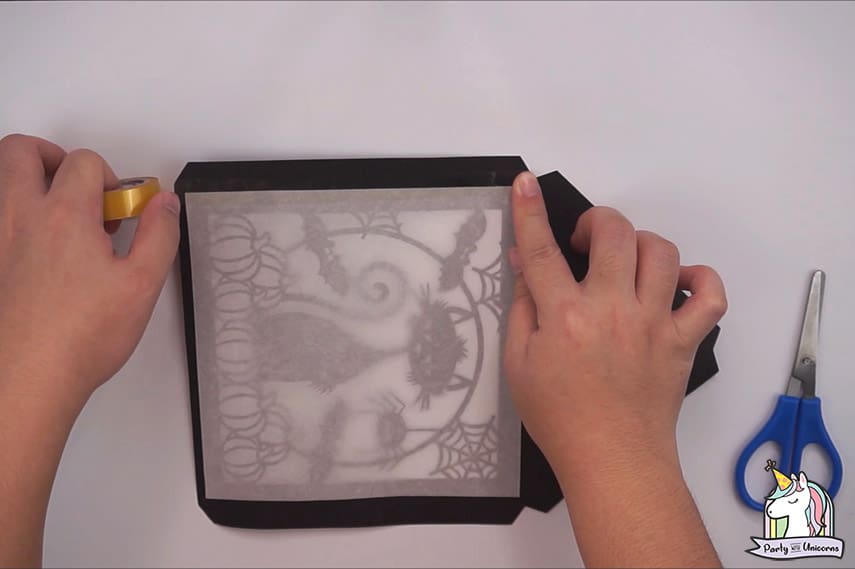
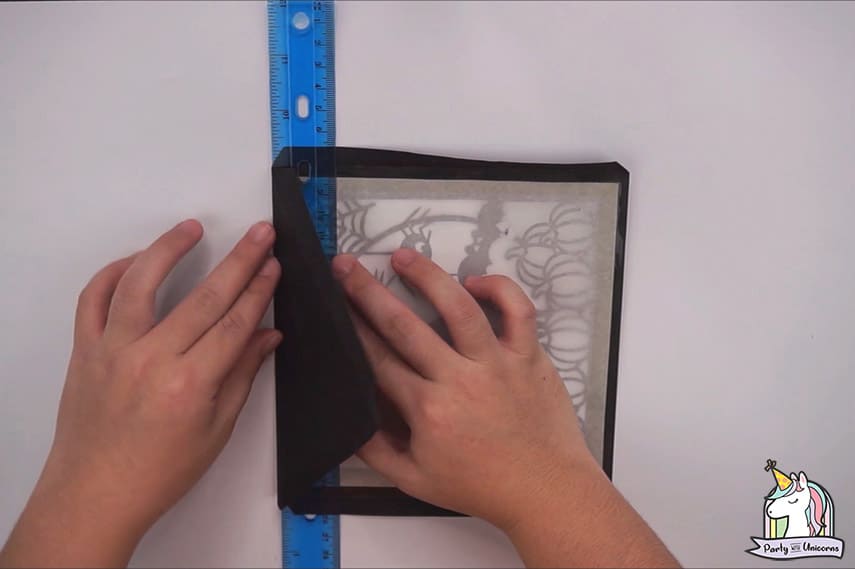
- Get your 16x16cm parchment paper and place it at the back.
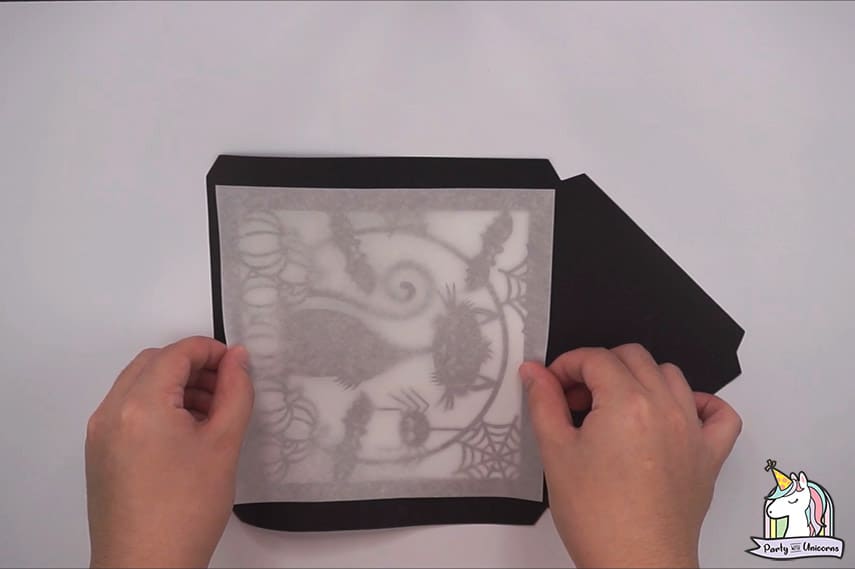
- Secure it using a clear tape.
- Fold all the flaps using a ruler.
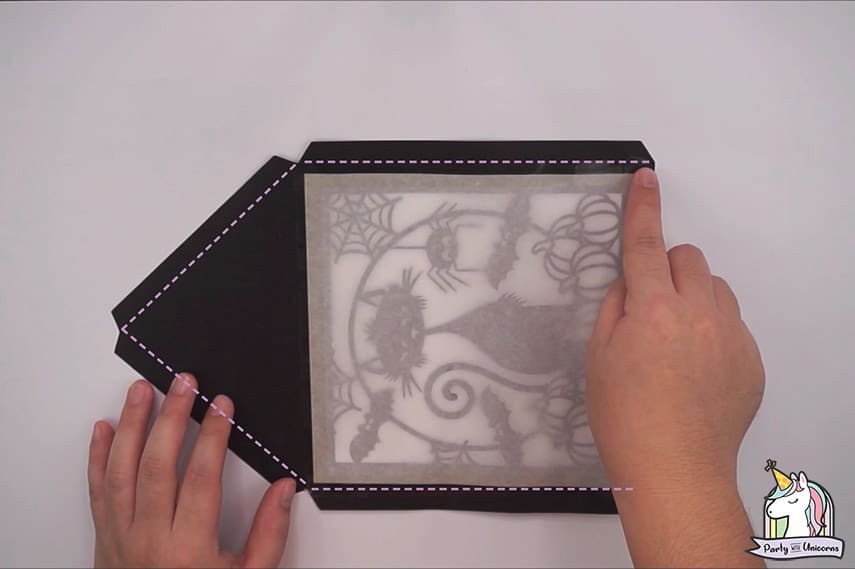
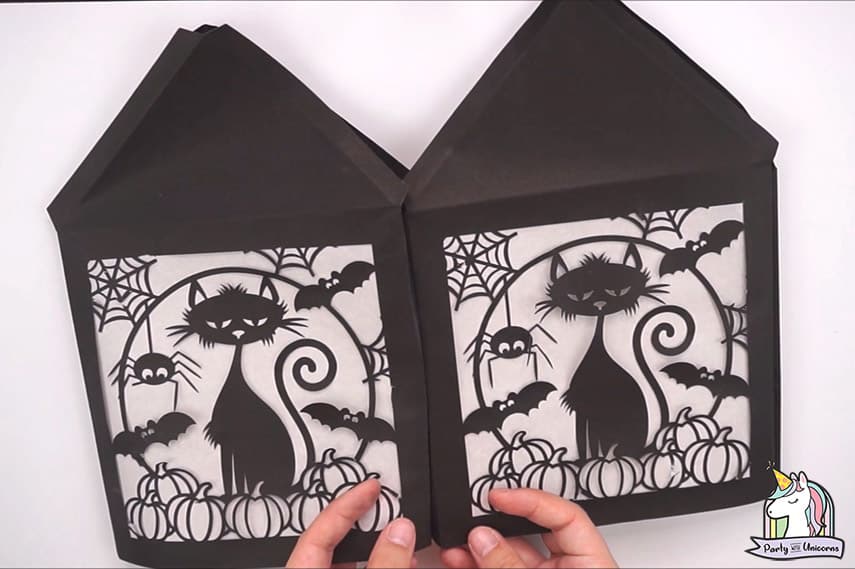
- Fold-down the line between the roof and body of the lantern.
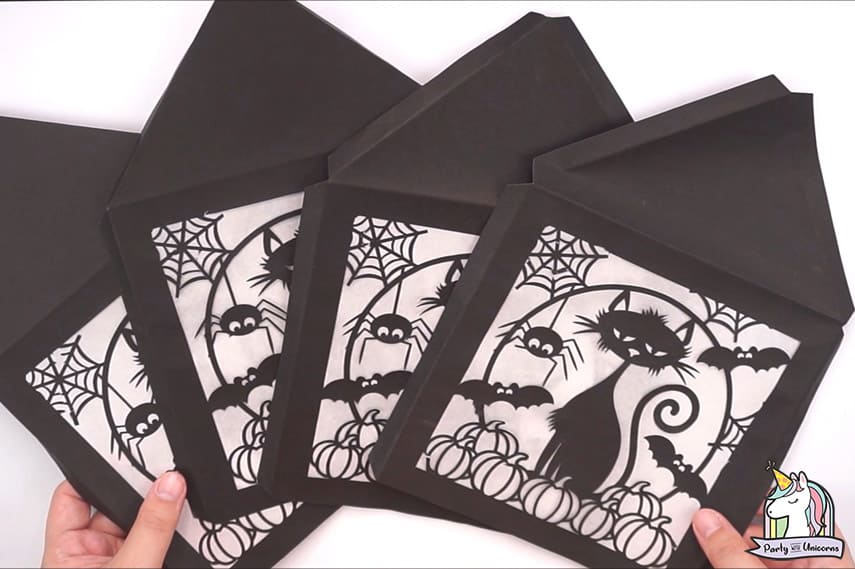
- Repeat all steps to create 4 of these.
- Glue all side flaps together to connect all 4.
- Glue the flaps on top to create the lantern's roof.
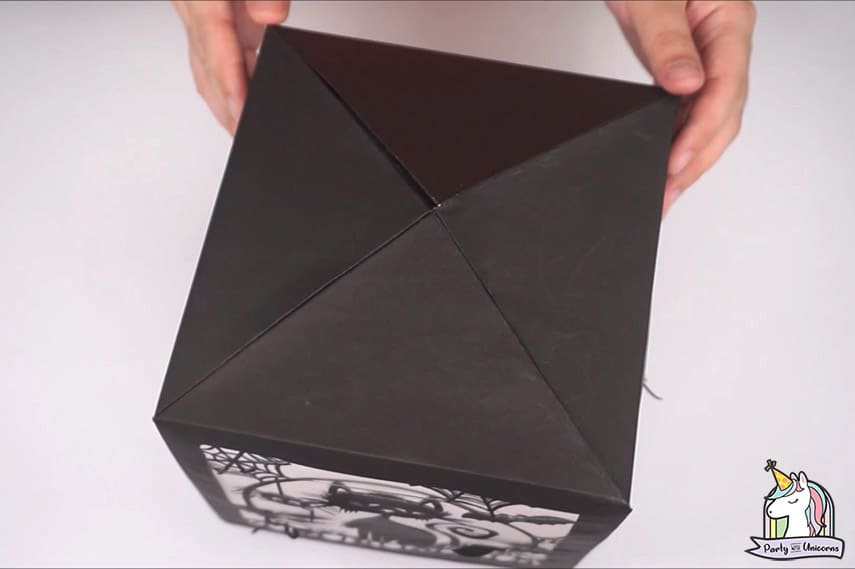
- Use your lantern with an electronic candle or electric tealight for the best result!
And there you have it and super cool DIY Halloween Paper Lantern.
What kind of lights do you put in paper lanterns?
For safety, be sure to use a flameless candle. My preference is to use little LED tealight candles as they are inexpensive and they flicker which makes the lantern look fantastic and extra spooky for Halloween.
Where should I put my paper lantern?
Honestly, I think this lantern would be fantastic anywhere! My plan is to create a few different lanterns and have them dispersed around the front path and the back yard for our Halloween Party.
What types of paper should I use?
I just used regular card stock for the lantern and everyday parchment paper for the screen. You can get all sorts of fancy expensive paper, but they are not required.
Where can I get some more fun DIY Halloween Party Ideas?
I’m so glad you asked! Some of our most popular Halloween Crafts are waiting for you!
Bring some color into your space with this fun Halloween Rosette craft. You can even use the same graphics from your paper lantern to make some matching rosettes for your space. Super simple to make and they look great!

Send the kids home with a fun treat with these DIY Halloween Favor bags. These bags are easy to make and the kids love them! Check out the post for all the details and to download the free templates.

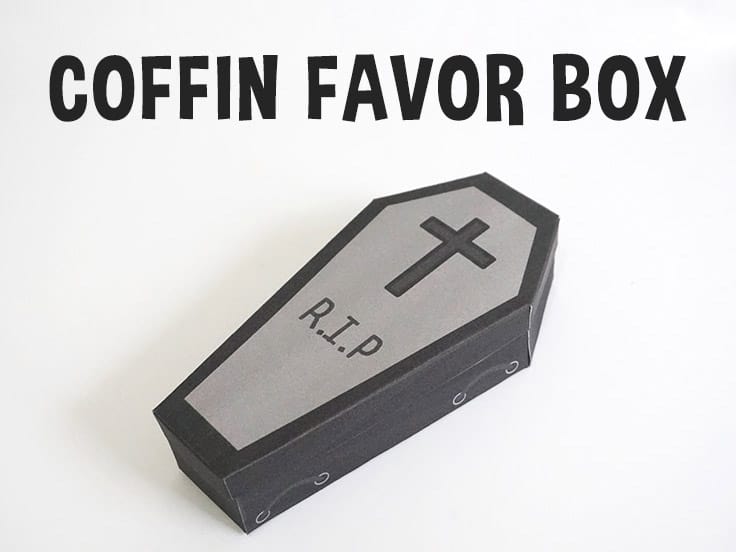
If you think your guests are looking for a slightly spookier favor, then try these DIY Coffin gift boxes. They are perfect for Halloween table decorations or a fun way to send your guests home with a deadly Halloween treat!
If you make this fun Halloween lantern please do send me a photo at carolyn@partywithunicorns.com or tag me on social media. I always love to see your amazing creations!