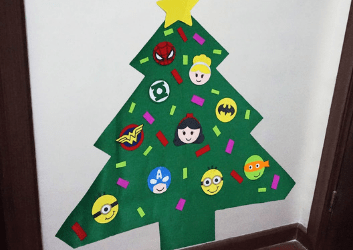
It’s that time of the year again to start pulling out all of the Christmas decorations. Putting up the Christmas tree is always so exciting with the kids, I can’t help but get excited as they pick out their favorite items for the tree.
This year, my youngest is still a bit of a liability when it comes to the Christmas tree so we will be putting up a baby gate to avoid any safety disasters.
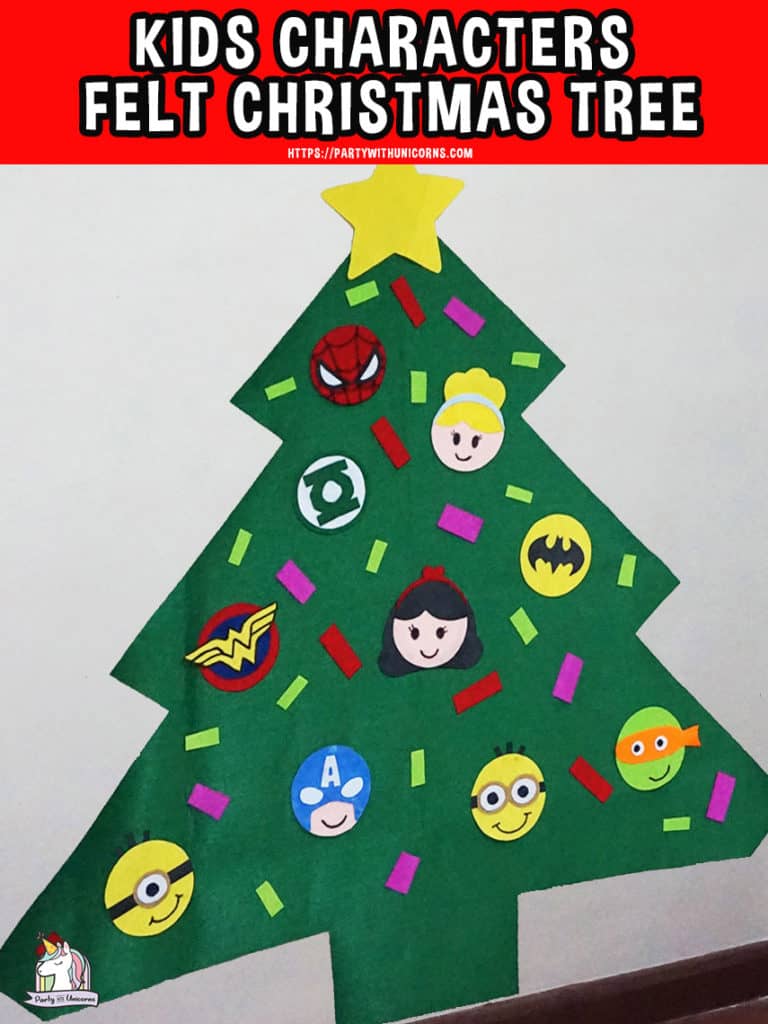
I’ve created this felt Christmas tree to try to entertain her. It is the perfect alternative for her to touch and play with (without destroying the real Christmas tree, no doubt that will still happen, but maybe this will buy me five or six minutes of peace).
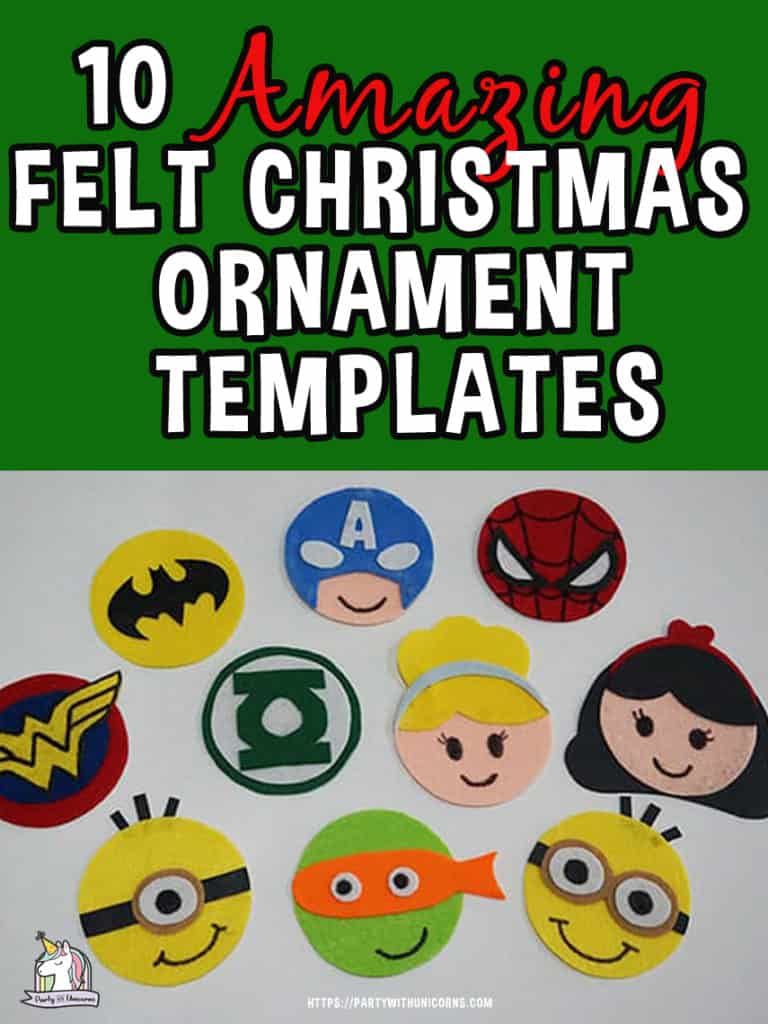
Instead of a standard felt tree, I’ve decided to add some of kids favorite characters to make it extra fun for the kids. Between superheroes, Disney Princesses, Ninja Turtles, and Minions, I am sure the kids are going to love this addition to our Christmas decorations.
Tip: You can also add a string and add these ornaments to your real tree too!
How to Hang Felt Christmas Tree
Since posting this original post, I have gotten a number of questions about how to hang the finished tree onto the wall. I use 3M command strips to ensure the tree stays stuck to the wall and to ensure that I don’t damage the wall.
The Felt Christmas Tree Tutorial
Simply follow the instructions below to create your own tree. If you have any questions or issues, please reach out in the comments section. I’ve broken the tutorial into three parts to make it easier for you to follow :
Part 1: Felt Christmas Tree Star
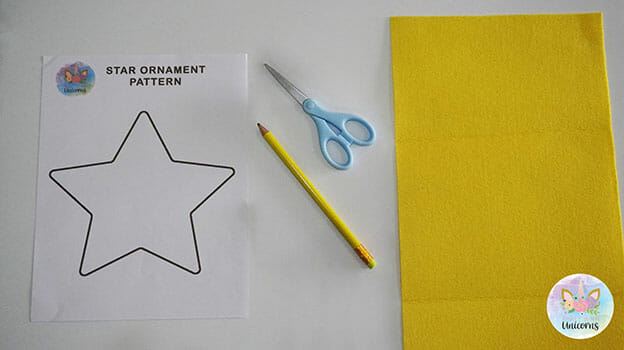
Materials needed to create the Christmas Star:
- Yellow felt cloth
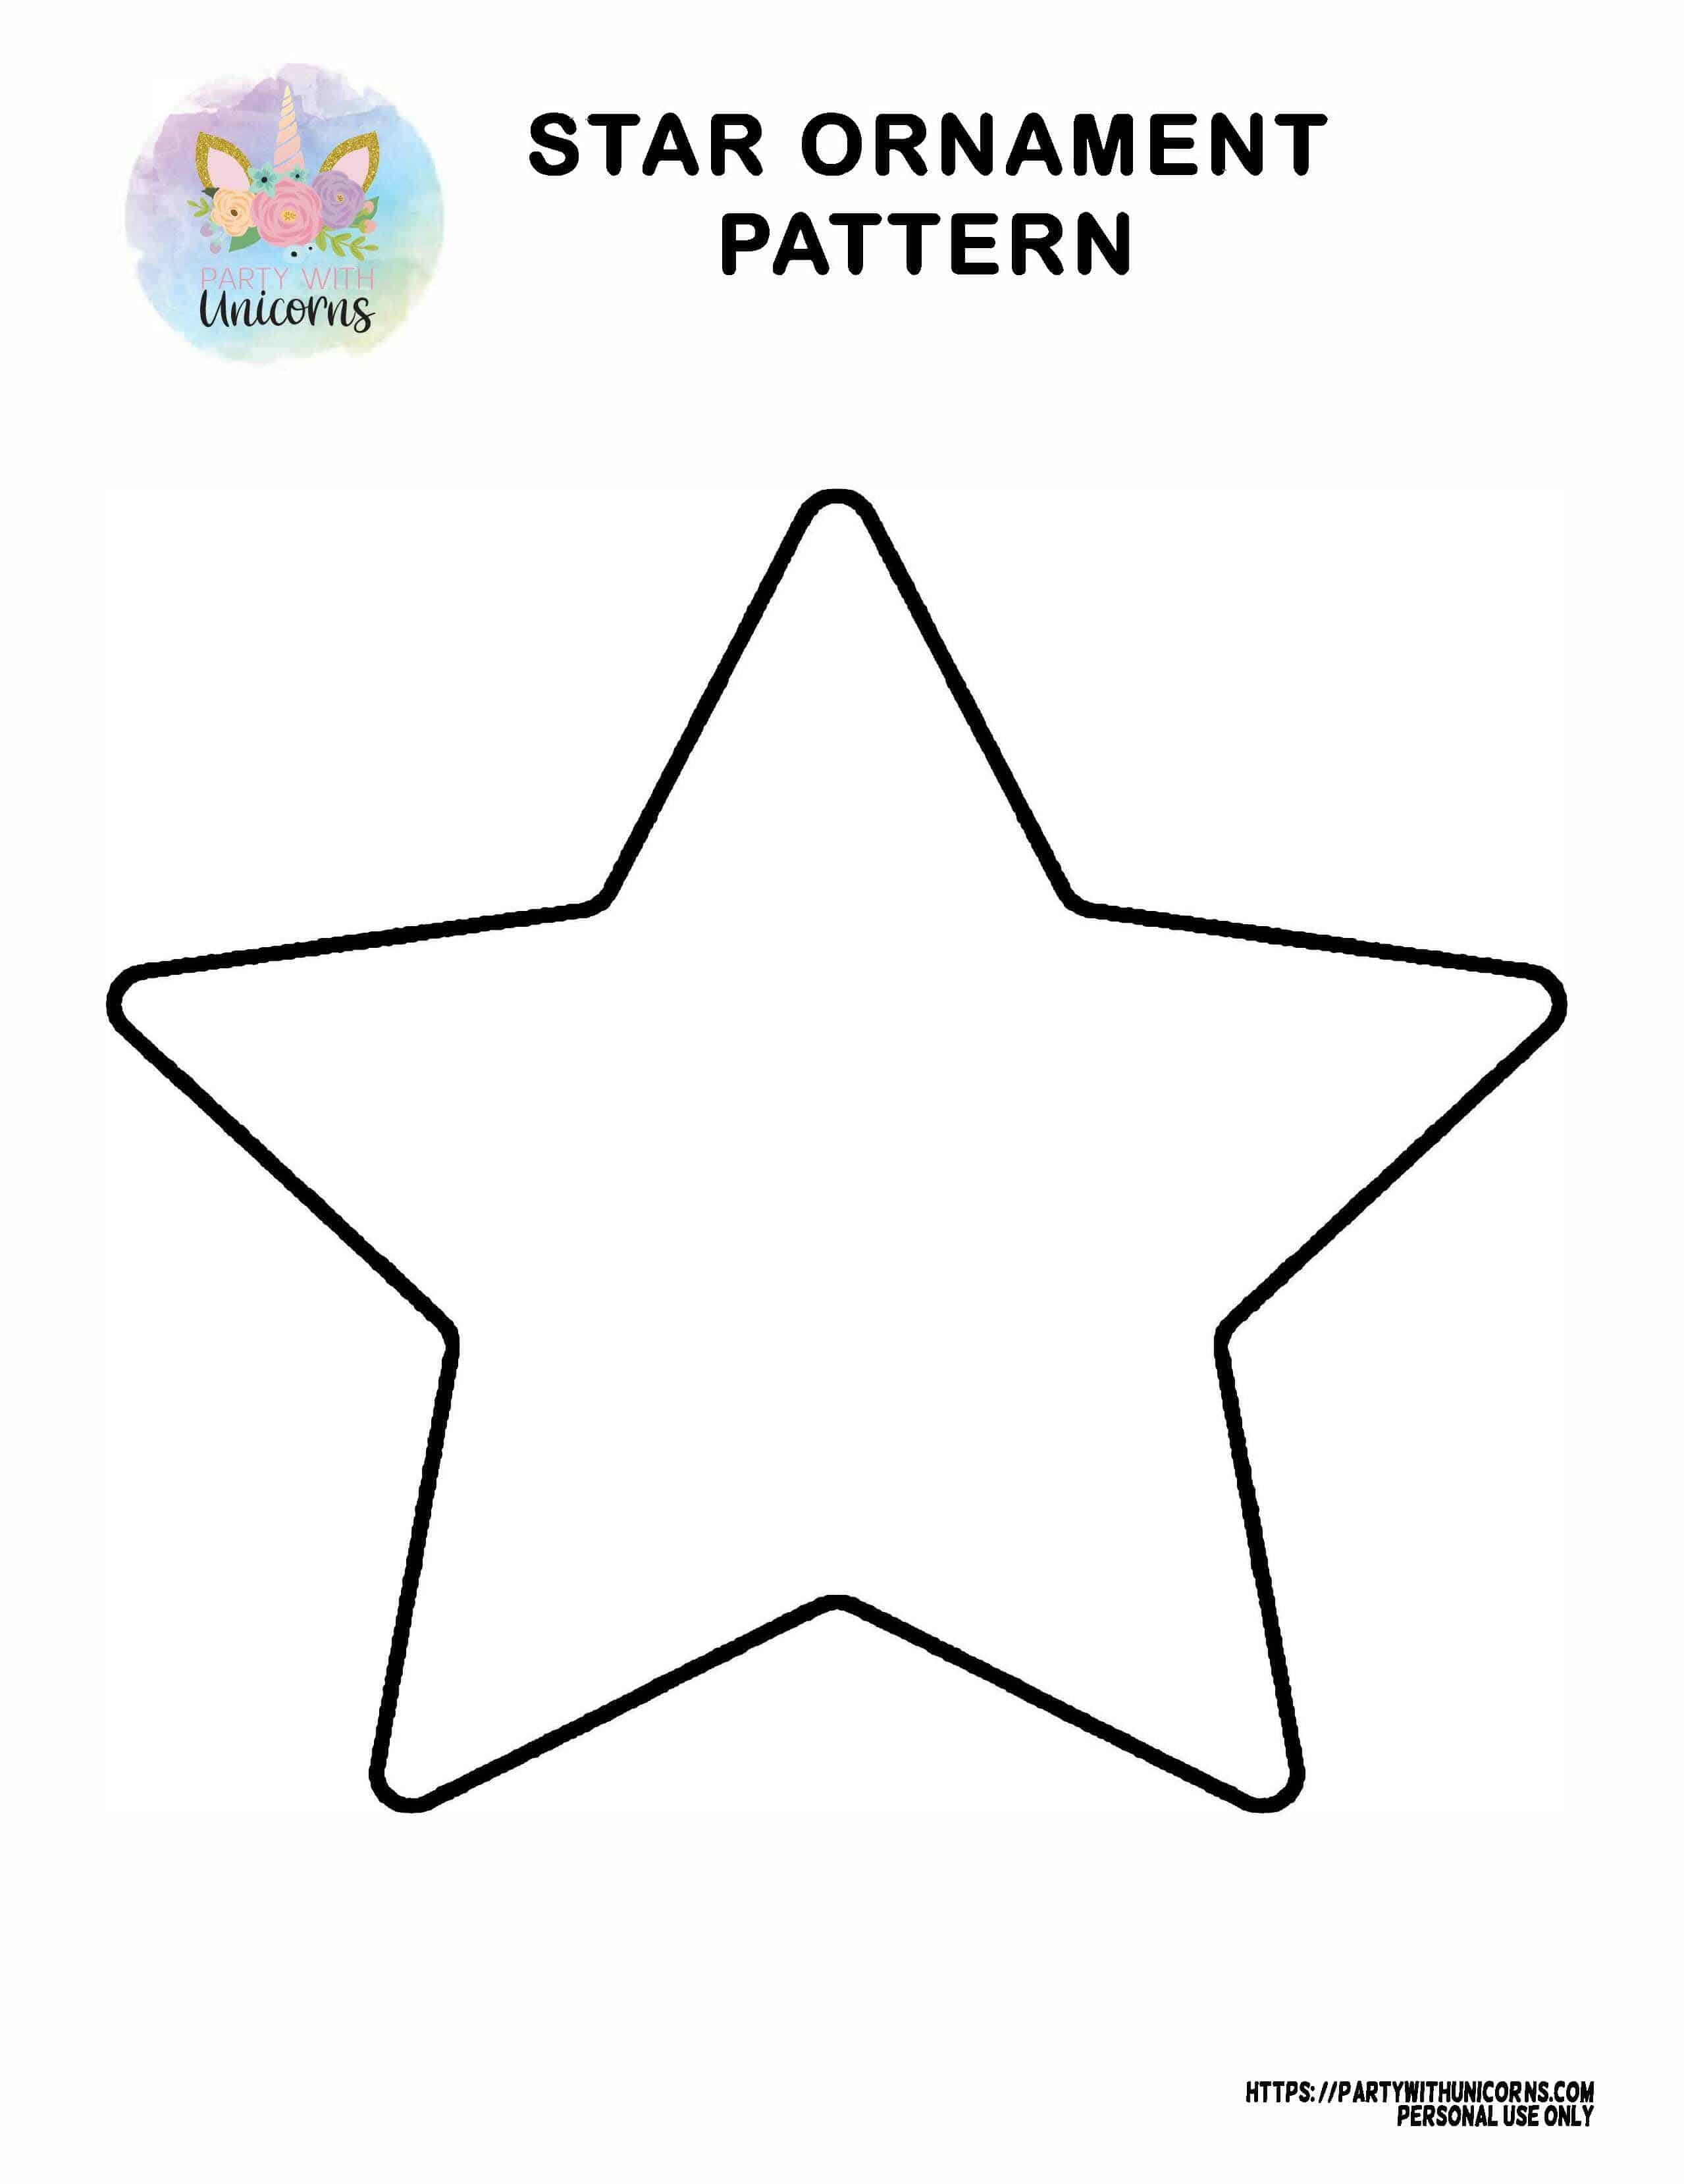
- Printed Star ornament pattern (best if printed on a Cardstock paper)
- Scissors
- Pencil
Step 1: Download and print the Christmas Star Pattern.
Step 2: Cut it out and trace it onto a yellow felt cloth.
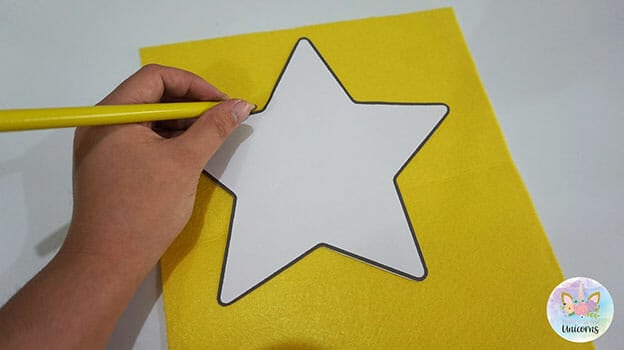
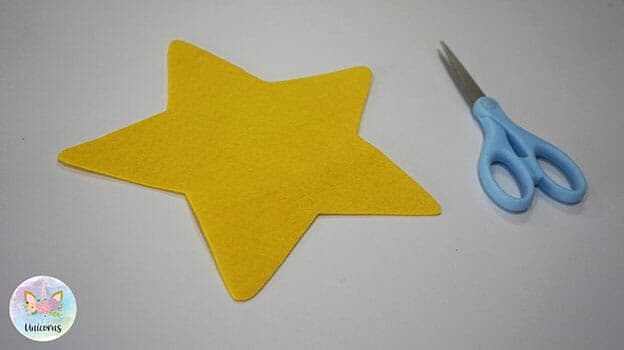
Step 3: Cut it out. Keep it for later use.
Part 2: Felt Christmas Ornaments
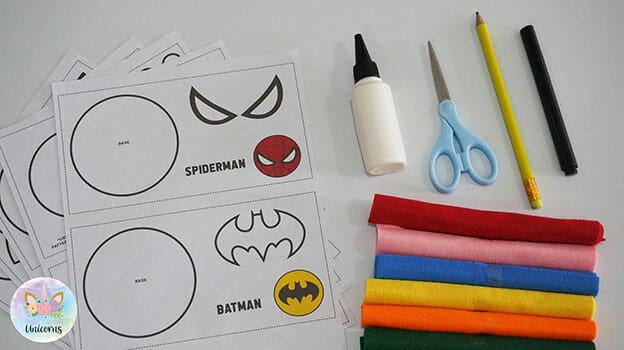
Materials needed:
- Felt cloth (different colors)
- Printed ornaments pattern (best if printed on a Cardstock paper)
- Scissors
- Pencil
- Black Marker
- Fabric glue (or hot glue)
Step 1: Download the Ornaments Patterns and cut it out. Scroll to the bottom of the post for links to download patterns.
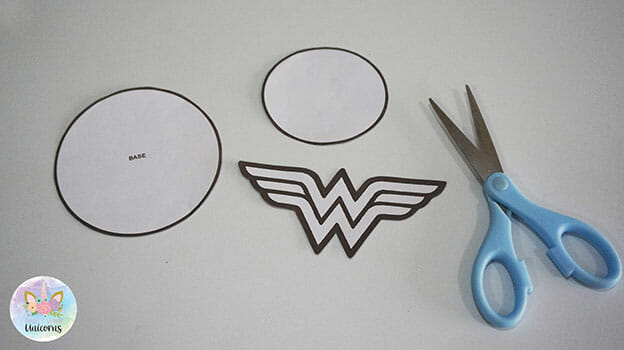
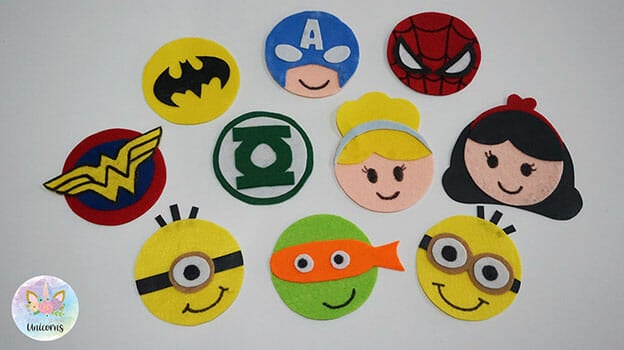
Currently, the following ornament patterns are available:
- Spiderman Christmas
- Batman
- Green Lantern
- Captain America
- Ninja Turtles
- Minions (Two Designs)
- Wonder Woman
- Snow White
- Cinderella
Step 2: Trace the pattern onto the felt cloth
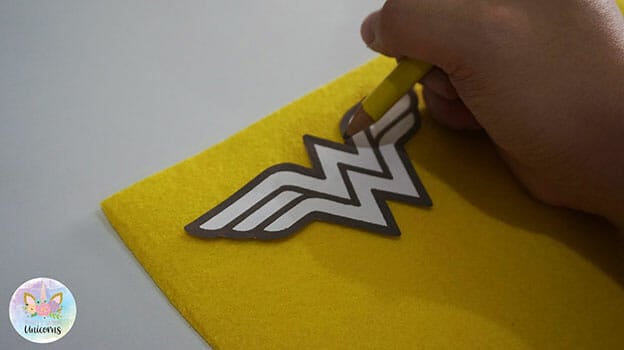
Step 3: Cut it out.

Step 4: Using your black marker, add some details (if needed).

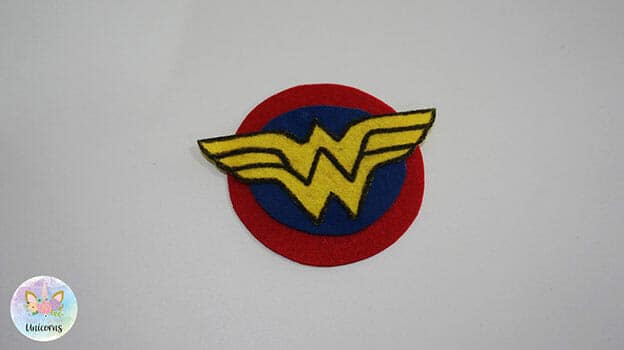
Step 5: Glue the patterns altogether.
Step 6: Create all of the Ornaments for fun!
I was also thinking you could also create personalized baubles for your kids, by cutting out a circle from the pattern and then cutting out their names. I know my kids would love it!
Part 3: Felt Christmas Tree Instructions
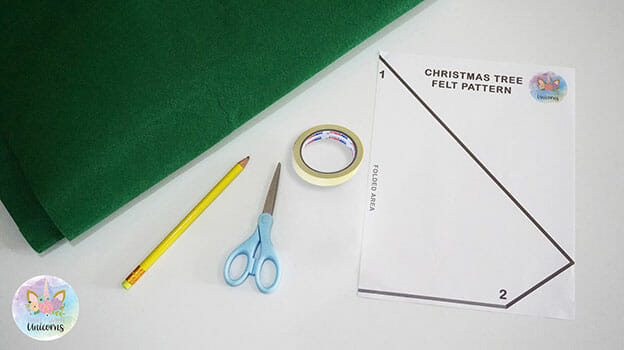
Materials needed:
- Green felt cloth (1 yard)
- Felt tree template (best if printed on a Cardstock paper)
- Scissors
- Pencil
- Velcro dots or Masking tape
Step 1: Download and print the Christmas tree pattern. Cut it out. Scroll to the bottom of the post for links to download patterns.
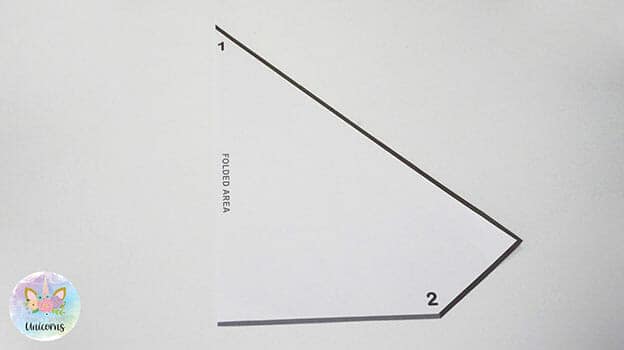
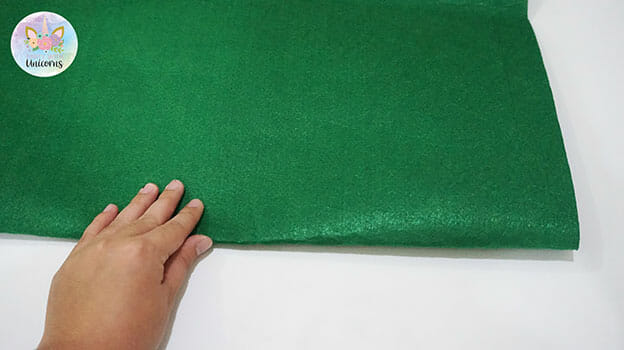
Step 2: Fold the green felt cloth (lengthwise) into two.
Step 3: Trace the pattern starting from the top part of the folded area.
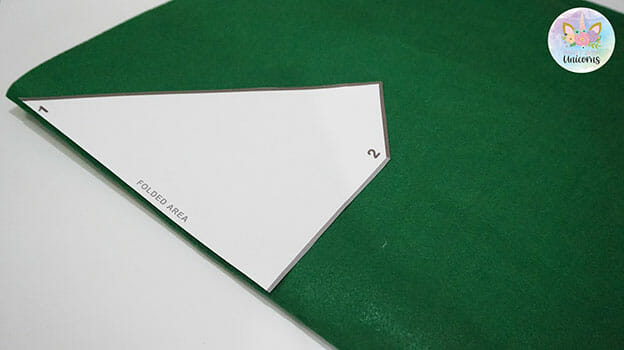
Step 4: Continue tracing the pattern from line 1 to 2 until you reach your desired length or the end of the cloth.
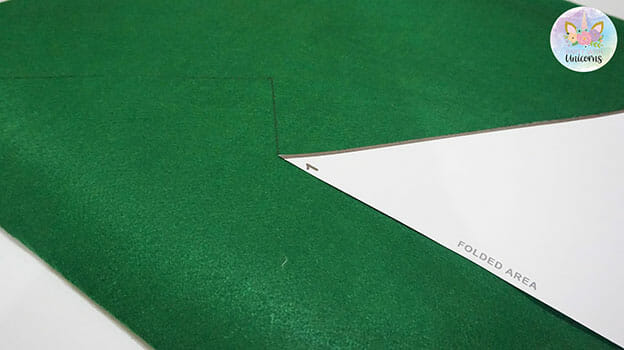
Step 5: Cut it out. Then cut some strips of remaining felt cloth to serve as tree accents. You can also stick the ornaments now (or stick it later when the tree is mounted on the wall) using velcro or masking tape. I prefer Velcro as it is easier for the kids to take them on and off and play around with the tree.
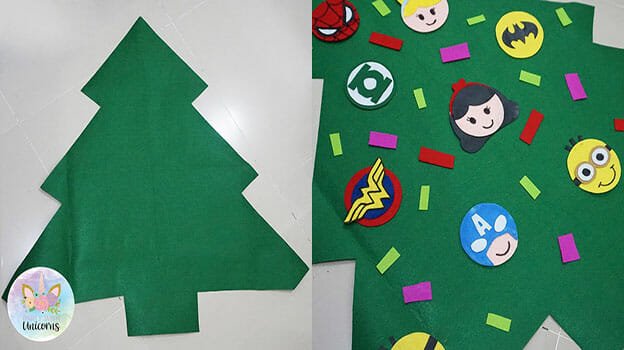
Step 6: Mount your felt Christmas tree onto your wall. I usually use command stripes, as they are a great way to mount the tree onto the wall without doing damage. Just make sure you following direction for removal or the strip will remove paint from the walls. Don’t forget to stick the Star ornament too!
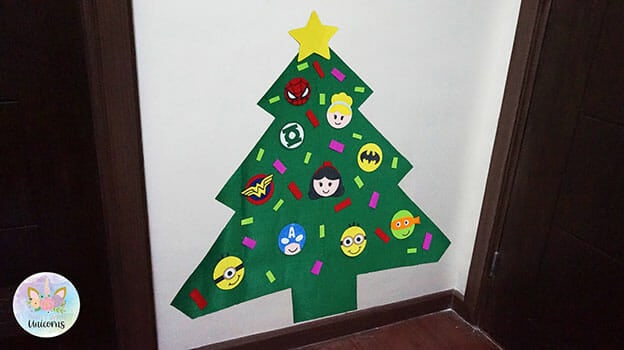
Felt Christmas Tree
Materials
- Felt
- Printed pattern
- Velcro
- 3M Command Strips
Tools
- Glue Gun
- Scissors
- Pencil
- Black Marker
Instructions
- Download and print the Christmas Tree Patterns

- Trace the Star Pattern it onto a yellow felt cloth.

- Cut out the star pattern and put it aside for later

- Select the ornament pattern that you would like to use. There are currently nine patterns available: Spiderman, Batman, Green Lantern, Captain America, Ninja Turtles, Minions (Two Designs), Wonder Woman, Snow White, Cinderella


- Trace the selected pattern onto the felt cloth (use whatever colors suit your pattern.) and then cut it out.

- Use a black marker to add additional details to the pattern if required

- Glue the patterns altogether.

- Fold 1 yard of green felt cloth (lengthwise) into two

- Trace the pattern starting from the top part of the folded area.

- Continue tracing the pattern from line 1 to 2 until you reach your desired tree length or you get to the end of the felt.

- Cut it out.

- Then cut some strips of remaining felt cloth to serve as tree accents. You can also stick the ow (or stick it later when the tree is mounted on the wall) using Velcro or 3M Command Strips.
More Christmas Crafts for Kids
If you are looking for some more fun Christmas craft ideas, check out these popular ideas:
- Snowflake Globe Ornament
- DIY Christmas Pop-up Card Craft for Kids
- Christmas Felt Photo Ornament Crafts
- Christmas Favor Boxes
- Christmas Confetti Card
That’s all for today. I hope your kid love this holiday craft as much as mine do!

